
Last updated November 16, 2026
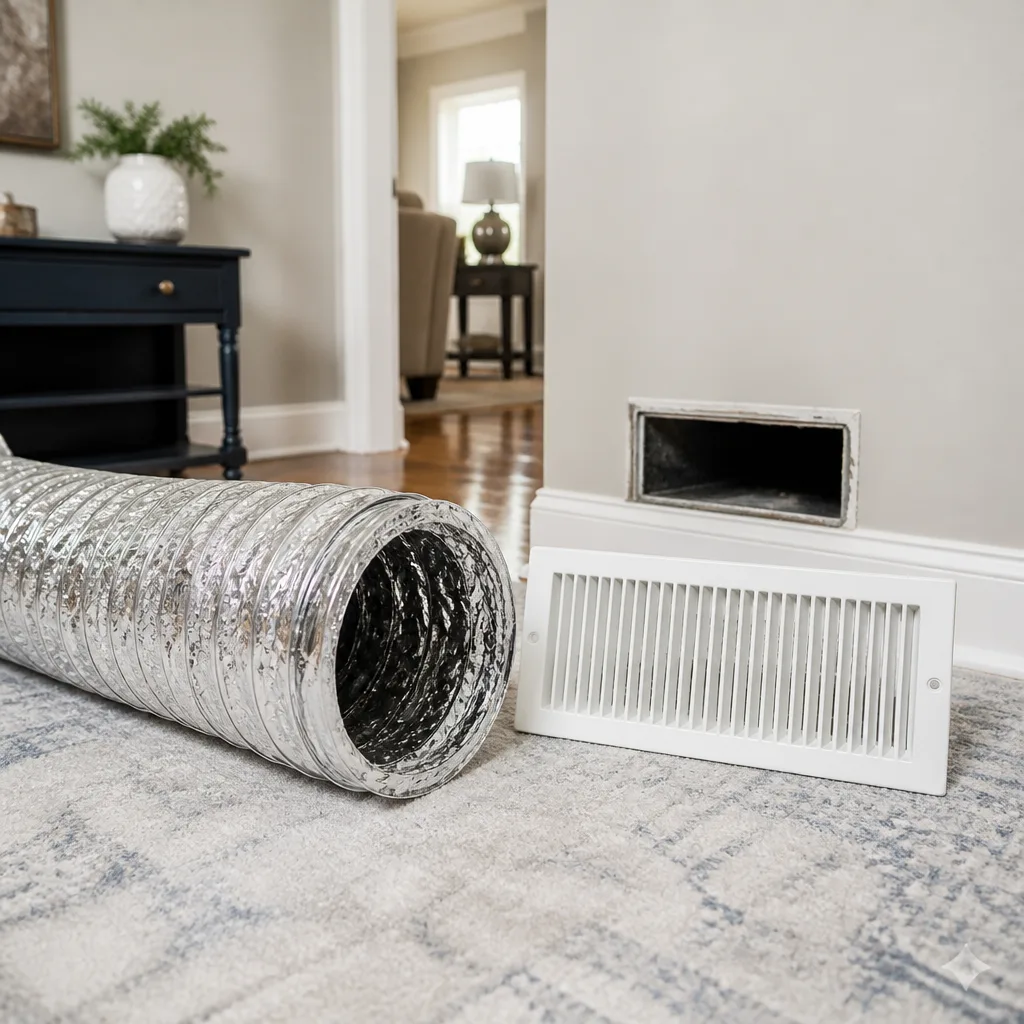 Whole-home duct cleaning
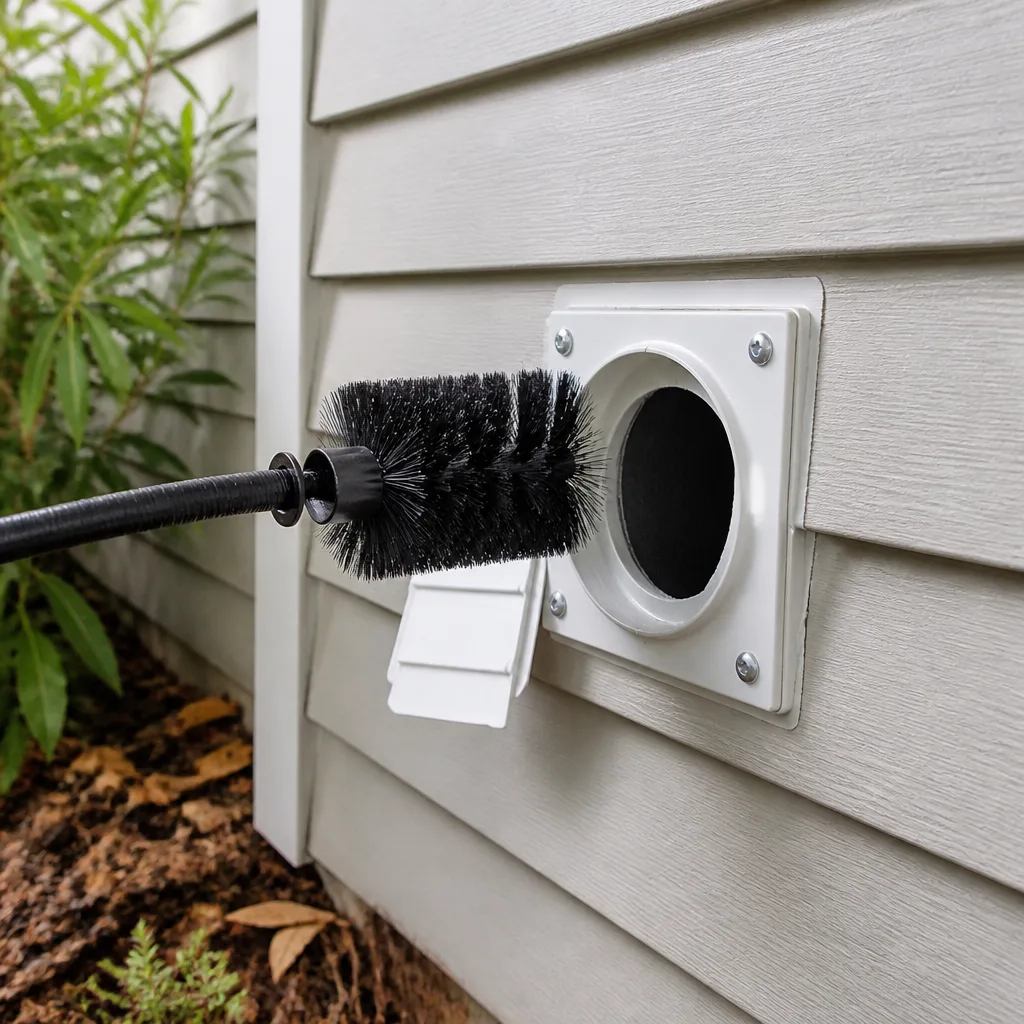 Dryer vent cleaning
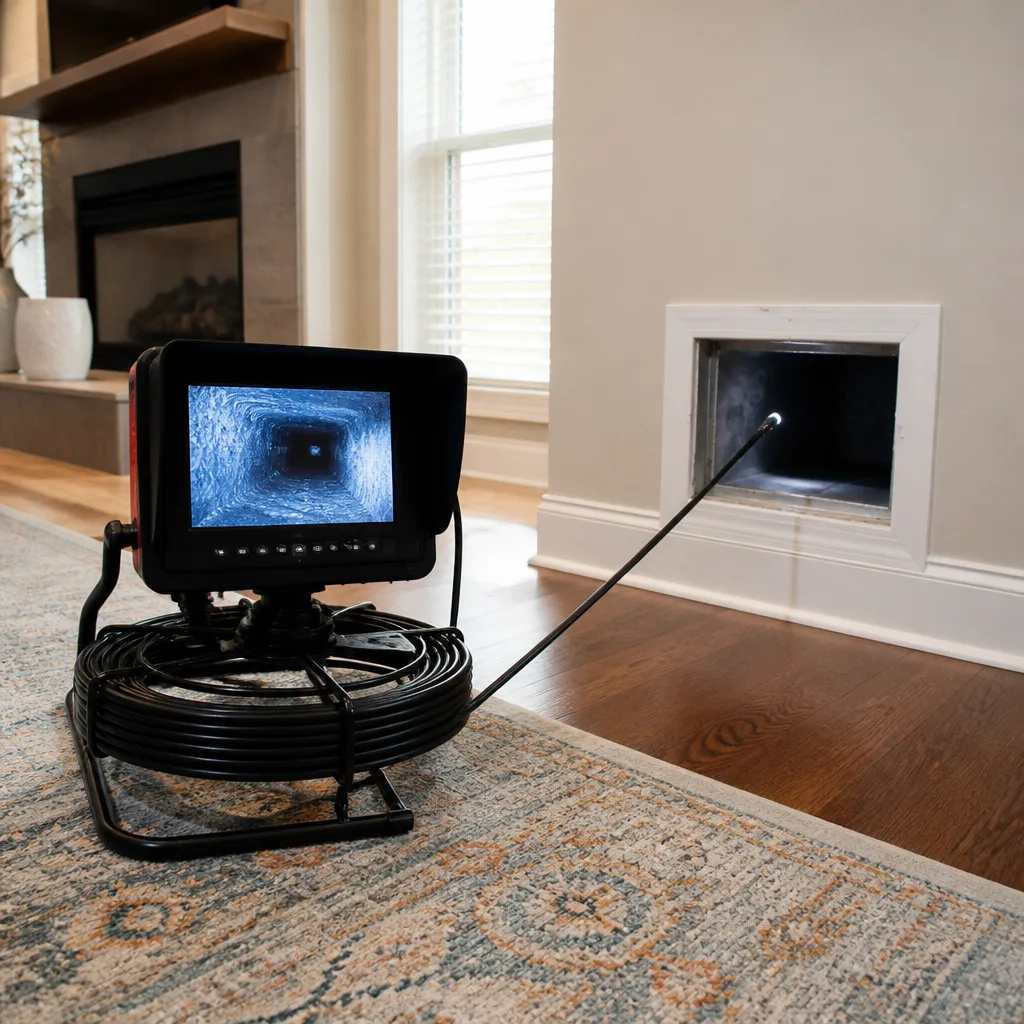 Camera inspection
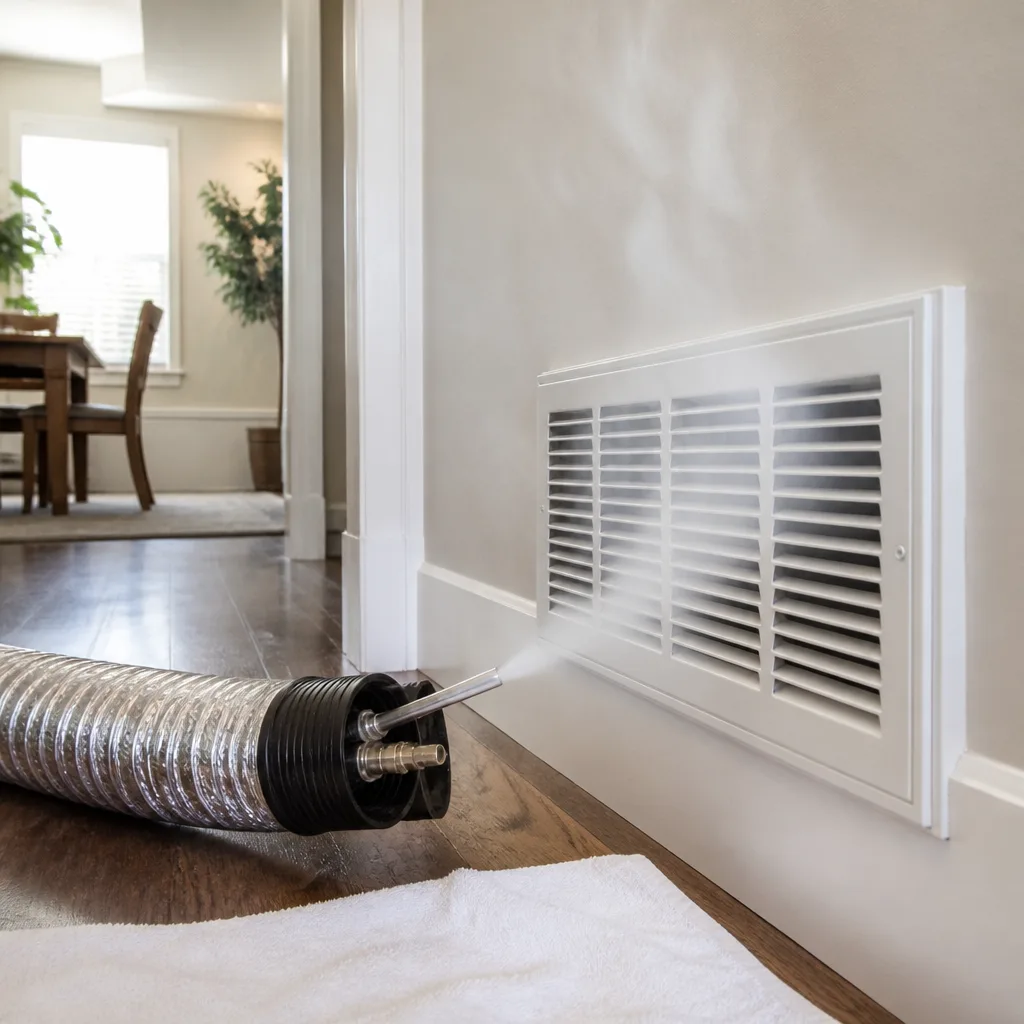 Sanitizing & deodorizing
Whole-system duct and dryer vent check with before-and-after photos - you see exactly what came out of your vents
That "$99 whole-house special" is a bait ad - the real number appears once they are in your hallway, or the "clean" is a shop-vac at the register. We photograph the inside of your ducts before and after instead.
Air Duct Cleaning Warning Signs: A Sparks Homeowner’s Reference Guide
A single vent that blows noticeably weaker than the others isn’t just a “duct problem.” It’s a diagnostic signal that points to a specific failure location, and catching it early costs a fraction of what ignoring it does. Most guides to duct cleaning warning signs online tell you to look for visible dust or a bad smell, which is a bit like telling a driver to watch for a flat tire. By the time it’s obvious, you’ve already lost time and money. The subtle indicators are the ones that matter, and Sparks homeowners miss them regularly. This guide walks through the early signals, what each one means mechanically, and how to tell the difference between a normal quirk and a real problem.
Quick Answer
The most useful duct cleaning warning signs are airflow imbalance between rooms, a musty smell on first startup that fades, condensation staining in the attic, a summer energy bill that climbs faster than the temperature, and dust that streaks outward from supply registers rather than settling evenly. Any one of these suggests duct contamination, leakage, or a compromised run. Several together point to a system that needs an inspection before the problem compounds.
Styles & brands we work with
- Whole-home duct cleaning
- Dryer vent cleaning
- Camera inspection
- Sanitizing & deodorizing
Table of Contents
- Airflow Asymmetry: When One Room Lags Behind
- The “Musty on First Start” Smell and What It Means
- What to Look For in the Attic (Most Homeowners Never Check)
- Energy Bill Patterns That Correlate With Duct Leakage
- Dust That Settles vs. Dust That Streaks
- Dryer Vent Signs You Shouldn’t Ignore
- How to Verify the Work Was Actually Done
- How Often Duct Cleaning Really Needs Doing in Sparks
Airflow Asymmetry: When One Room Lags Behind
Two bedrooms sit the same distance from the air handler. Same duct diameter, same number of registers. One blows hard, the other barely moves a tissue. That gap is a signal, and it’s telling you something specific about where the problem lives. Airflow asymmetry between equidistant rooms usually points to one of four causes: a collapsed or disconnected flex duct, a crushed run where something heavy got set on top of it in the attic, a kink at a fitting, or a register damper that’s been closed and never reopened. The first three are duct integrity failures, and they get worse as the system keeps pushing air through a restricted path.
The blockage cause and the integrity cause look similar from the vent but behave differently. A blockage creates pressure behind it, which forces more air into the other rooms. Duct integrity failure lets conditioned air leak into the attic before it ever reaches the register. If the “strong” rooms feel overly aggressive while the weak room is nearly dead, that’s the pressure-signature of a blockage. If every room feels a little soft and the weak one is just the worst, you’re probably looking at leakage. Either way, the diagnostic move is the same: climb into the attic with a flashlight and follow the run from the air handler to the weak register.
In Sparks, this shows up most often in homes with long attic flex runs where summer attic heat softens the duct insulation and makes sagging worse. A run that hung tight in spring can sag into a low point by July, and the low spot collects dust and reduces airflow. Checking airflow evenness across rooms is the single fastest way to catch a failing run before it tears loose entirely. Keep a mental baseline of how each room feels in mild weather, then compare in the height of summer. The gap between “fine” and “noticeably weaker” is your first clue.
The “Musty on First Start” Smell and What It Means
A musty odor that appears when the system first kicks on and fades within a few minutes is one of the most misread signals in home air quality. Homeowners often write it off as “the house warming up.” It isn’t. That specific pattern – strong at startup, gone by minute five – comes from air passing over something with biological growth on it, and the freshness depends on which component that something is.
Three sources produce that startup smell, and they have different implications:
- Evaporator coil contamination. The indoor coil sits in the air handler and stays wet for much of the cooling season. When dust and moisture combine on a coil, microbial growth develops. The smell appears the moment the blower pushes air across the coil and fades as the coil surface dries or the air equilibrates. This is an air handler problem, not a duct problem, and cleaning the ducts alone won’t fix it.
- Duct interior contamination. Dust lining the inside of a flex or sheet metal run, especially in humid conditions or after a period of low use, produces a musty smell that persists longer and often concentrates in certain rooms. If the smell is strongest at one or two registers, the contamination is likely localized to those runs.
- Dead animal presence. A rodent or bird that gets into the duct system or the return plenum creates an odor that is unmistakably sharper and more persistent than the other two. It doesn’t fade cleanly, and it often carries a note that most people describe as “not quite musty, something else.” This is a contamination-control job, not a standard cleaning.
Distinguishing them matters because the fix differs. A coil problem needs the coil cleaned. A duct problem needs the ducts cleaned. A dead animal needs the contaminated section removed or sanitized, and the entry point sealed so it doesn’t happen again. When we inspect a system with a startup smell in Sparks, the first step is following the smell to its strongest point. That tells you which of the three you’re dealing with before any equipment comes out of the van.
What to Look For in the Attic (Most Homeowners Never Check)
Almost every duct failure we find started in the attic and stayed there until the homeowner noticed a symptom inside. Checking the attic twice a year, ideally in late spring and early fall, catches problems at the stage where they’re cheap to fix. You don’t need to be a technician to spot the three big ones – you just need to know what you’re looking for and to use a flashlight.
- Disconnected flex duct. Look for a run that ends in open air with a metal collar nearby but no duct attached to it. Even a small gap at a connection lets a large volume of conditioned air escape into the attic. If the attic feels unusually cool or warm near a duct run compared to the rest of the space, there’s a leak nearby.
- Crushed or kinked runs. A flex duct should be round along its whole length. If it’s been stepped on, sat on, or folded into a sharp bend at a fitting, it’s restricted. Look for sections pinched flat or bent at an angle sharper than a gentle curve. Any run that’s lost its round shape is delivering less air than it should.
- Condensation staining on insulation. Water stains, dark patches, or visible moisture on the outer jacket of a duct run mean the duct is sweating. In Sparks, the combination of cold conditioned air inside the duct and hot attic air outside creates a heavy condensation load on the insulation. A stained jacket means the insulation is failing, and failing insulation is where mold and biological growth start.
Two more things to glance at while you’re up there: the return plenum connection at the air handler (a common leak point), and any duct joint wrapped in tape that’s started to peel or sag. Old cloth-backed tape fails first, and a failed joint is the most common source of attic leakage we find in Sparks homes. If you see any of these, write down which run is affected and where it sits relative to the air handler. That information makes the inspection faster and the estimate more precise.
Energy Bill Patterns That Correlate With Duct Leakage
Every Sparks homeowner sees their energy bill climb in July and August. That’s normal. What isn’t normal is the shape of the climb. A bill that rises smoothly with the temperature curve is what you’d expect from a sealed, functioning system. A bill that jumps hard in one month, holds that new higher floor, and doesn’t come back down as the weather moderates is pointing somewhere specific.
The suspicious pattern looks like this: a stable baseline bill through spring, a sharp jump when the cooling season starts, and then a new “normal” that sits noticeably higher than last year’s summer for no obvious reason. No new appliances, no change in thermostat settings, no new occupants. That stair-step pattern is the signature of duct leakage that got worse between seasons. Each small tear in a flex duct or failed tape joint compounds over a cooling season, and the air handler runs longer to make up for the air that’s escaping into the attic.
Distinguishing leakage from ordinary summer load comes down to comparison. Look at the same month across three or four years. A sealed, well-functioning system tracks the temperature. A leaking system drifts upward year over year even when the weather is comparable. If your July bill today is noticeably higher than your July bill from three years ago with the same equipment and similar weather, that’s a pattern worth investigating. Leakage also shows up as a room-by-room temperature difference you can feel: an upstairs room that won’t hold its setpoint, or a bedroom that stays warm no matter how low you push the thermostat. Those are the room-level symptoms of the same problem the bill is showing at the meter.
Dust That Settles vs. Dust That Streaks
All homes collect dust. The question isn’t whether dust appears, it’s how it behaves. Dust that settles evenly on horizontal surfaces – the tops of shelves, the TV stand, windowsills – is normal filtration bypass. Your filter catches most of what the return pulls in, some finer particles pass through, and they eventually fall out of the air. A little buildup each week is expected. What matters is the pattern on the walls and registers around the vents.
There’s a meaningful difference between two visible dust phenomena:
- Settled dust on horizontal surfaces. Even, uniform, in proportion to how long it’s been since you last wiped. This is the filter doing its job imperfectly, which is what filters do. If you’re dusting weekly and the buildup is light, nothing is wrong.
- Radial streaking from supply registers. Dark lines or dust fans that project outward from the register grille onto the adjacent wall or ceiling, like a starburst. That phenomenon comes from one of two causes: dust being pushed out of a contaminated register at high velocity, or air velocity at that register being too high because a downstream run is blocked. Both are duct-system signals.
If you can see the streaking pattern, take a close look at the grille itself. A grille with visible dust caked on the inside faces of the louvers points to contamination at that specific register. A grille that’s clean but still streaking the wall points to a velocity problem, which usually traces back to a restricted run elsewhere in the system. In Sparks, streaking is more common in the hotter months because the air handler runs longer and the velocity at each register is higher. If only one register streaks, that’s the one to look at. If several streak, the whole system is telling you something.
Dryer Vent Signs You Shouldn’t Ignore
Dryer vents sit alongside the duct system in most homes but they fail in a completely different way, and the consequences are more serious. A clogged dryer vent is a leading household fire risk, and it doesn’t announce itself with a smell or a noise. It shows up as small, easy-to-miss changes in how the dryer behaves and how the laundry feels. Most homeowners catch these signs only after the vent is heavily restricted.
Watch for these:
- Clothes take noticeably longer to dry than they did a few months ago, and a second cycle is often needed.
- The exterior of the dryer gets hot to the touch during a cycle, more than usual.
- The laundry room feels humid or warm when the dryer is running, and the exterior vent flap barely moves when the dryer runs.
- Lint is visible around the outside of the vent hood, or the vent hood flap stays partially open when the dryer is off.
Any one of these means the vent path is restricted, and restricted vent paths get worse because lint accumulates at the same point that’s already holding it. Dryer vents aren’t part of the air duct system and don’t get cleaned during a standard duct cleaning job unless the company specifically offers it. We list dryer vent cleaning separately from air duct cleaning because the tools and the technique are different, and because a vent that’s cleaned properly needs the full run cleared from the dryer to the exterior termination point, not just the section under the house.
How to Verify the Work Was Actually Done
The most common fear about duct cleaning, and it’s a reasonable one, is that someone shows up, runs a shop vac for twenty minutes, gives a thumbs-up, and leaves. Duct work happens inside the walls and the attic where you can’t see it, so verification has to rely on what the technician documents before, during, and after the job. Here’s what to ask for.
- Before-and-after photos of your own ducts. Not stock photos, not photos from another home. The technician should photograph the inside of the main trunk and a selection of individual runs before cleaning and after. The photographs should show the same locations.
- Equipment made for the job. A rotary brush system clears the interior of a duct with controlled mechanical agitation. A HEPA-rated extraction unit holds the debris. A shop vac pulls some dust out of the first few feet and leaves the rest. Ask which equipment will be on the job, and look for brand names you can check.
- A whole-system price agreed before work starts. One flat price for cleaning the whole system, not a price per vent, not a coupon that turns into a bigger invoice once the technician is on site. Get the number in writing before anything comes off the truck.
- A stated scope. Ask what gets cleaned. The main supply and return trunks, the individual runs, the registers and grilles, and the air handler components that are accessible should all be on the list. If the scope is vague, that’s a signal.
- Photographic documentation of any problems found. If the inspection turns up a disconnected run, crushed flex, or a section with biological growth, you should see the photo before you make a decision about the repair.
We use Rotobrush and Nikro professional systems on every job, and we work with Abatement Technologies air filtration equipment when a job calls for containment-level debris extraction. The reason we name the equipment is that it lets you check what we’re telling you rather than take it on faith. Ask any company what they bring. The answer tells you a lot about whether the job will be done or merely charged for.
How Often Duct Cleaning Really Needs Doing in Sparks
There’s no universal answer to “how often,” despite what marketing material says. Duct cleaning is a maintenance decision based on conditions, not a fixed calendar. In Sparks, the drivers are the long cooling season, the attic heat that stresses duct insulation, the dust that blows off surrounding open land in spring, and the way recirculated air keeps cycling whatever is in the ducts back into the living space. Those factors point to an inspection every few years for most homes, and cleaning when the inspection says it’s needed.
Some homes genuinely need it more often. If you have pets that shed, a recent remodel that put drywall dust or sawdust into the return, a home that’s been vacant for a while, or a system that’s showing two or more of the warning signs in this guide, the case for cleaning is stronger. Homes near active construction or in areas with a lot of windblown dust tend to accumulate faster. Homes with newer, well-sealed duct systems and strong filtration accumulate more slowly.
The right move is to start with an inspection and let the findings drive the decision. A proper inspection includes photographs inside the main trunk and several individual runs, a check of airflow at each register, and a look at the air handler and the accessible attic ductwork. From those findings, you can decide with real information rather than a guess about whether the system needs cleaning, repair, or both. If the inspection shows clean ducts, that’s a fine outcome – you’ve spent a little to learn the system is healthy, and you know what to watch for next year.
Common Mistakes to Avoid
- Waiting for a visible sign. By the time dust is falling from the registers, the contamination is well advanced. The subtle signs in this guide are the ones worth acting on, and they show up long before the obvious ones. Sparks homeowners who catch a weakened vent or a startup smell early often need a repair rather than a full-remediation job.
- Pricing per vent. A “per-vent” quote doesn’t describe a real job. The main trunk, the return plenum, and the runs all need attention, and per-vent pricing pushes the incentive toward cleaning only what’s cheap to reach. Ask for a whole-system price and a written scope.
- Accepting stock photos as proof. Before-and-after photos should show the inside of your ducts at the same locations. Stock photography tells you nothing about the work in your home. Ask to see your photos, and keep them; they’re useful documentation when you sell the home or renew a rental inspection.
- Ignoring the dryer vent because it isn’t part of the duct system. Dryer vents need cleaning on their own schedule, and the fire risk makes them more urgent than the ducts in most homes. Don’t assume a duct cleaning job covers the dryer vent unless the company explicitly says it does.
- Letting a technician get on site without a flat price in writing. The bait-and-switch reputation of the industry comes from exactly one pattern: a low teaser price that grows into a much larger invoice once the technician is inside the home. Get the total in writing before work starts, and don’t accept verbal-only pricing.
- Skipping the attic check for an entire season. A disconnected flex duct can run for months before it shows an obvious symptom inside the house, and the energy cost along the way adds up. Two attic checks a year, in late spring and early fall, catch most integrity failures at the stage where they’re simple to fix.
- Treating repair as a separate job. If the cleaning reveals a crushed run or a disconnected joint, fixing it during the same visit is almost always simpler than booking a return trip. Ask upfront whether the company handles duct cleaning Sparks and duct repair in the same visit.
See the difference
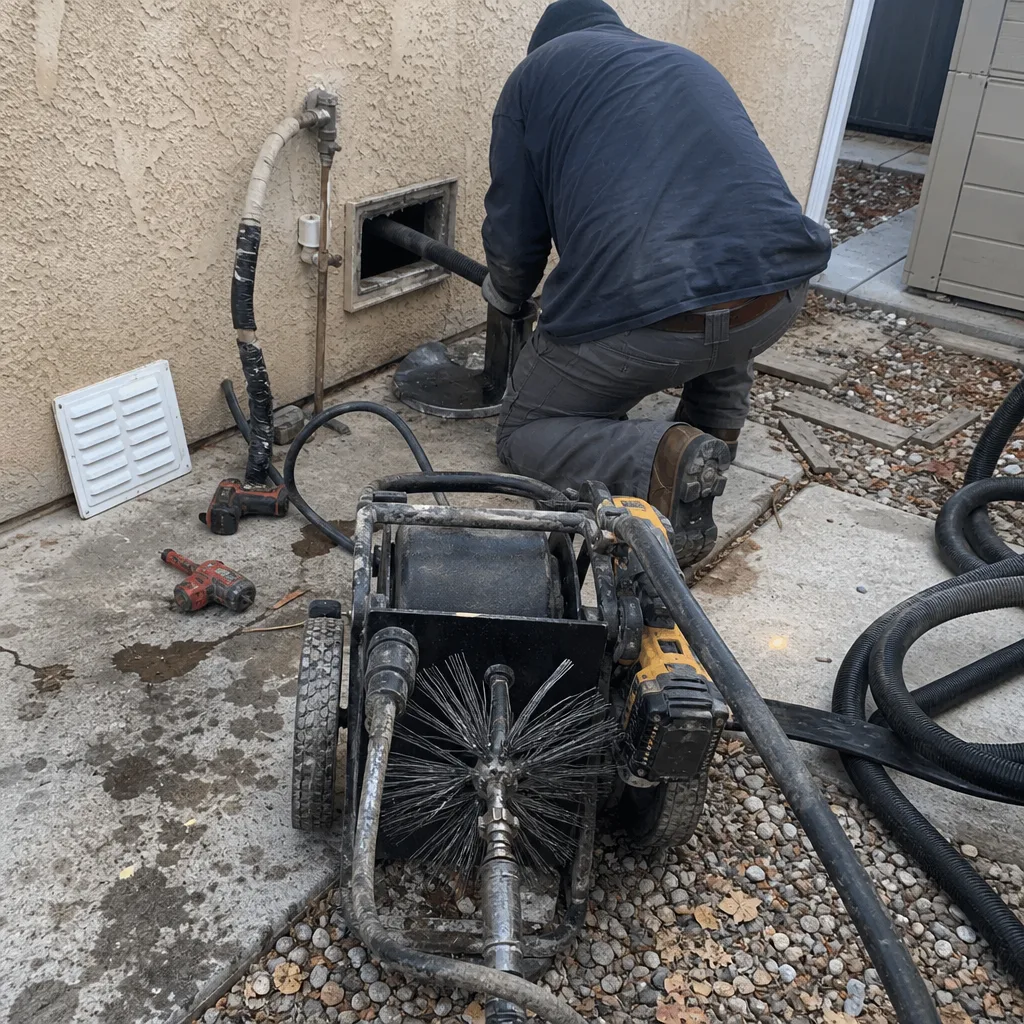 Before
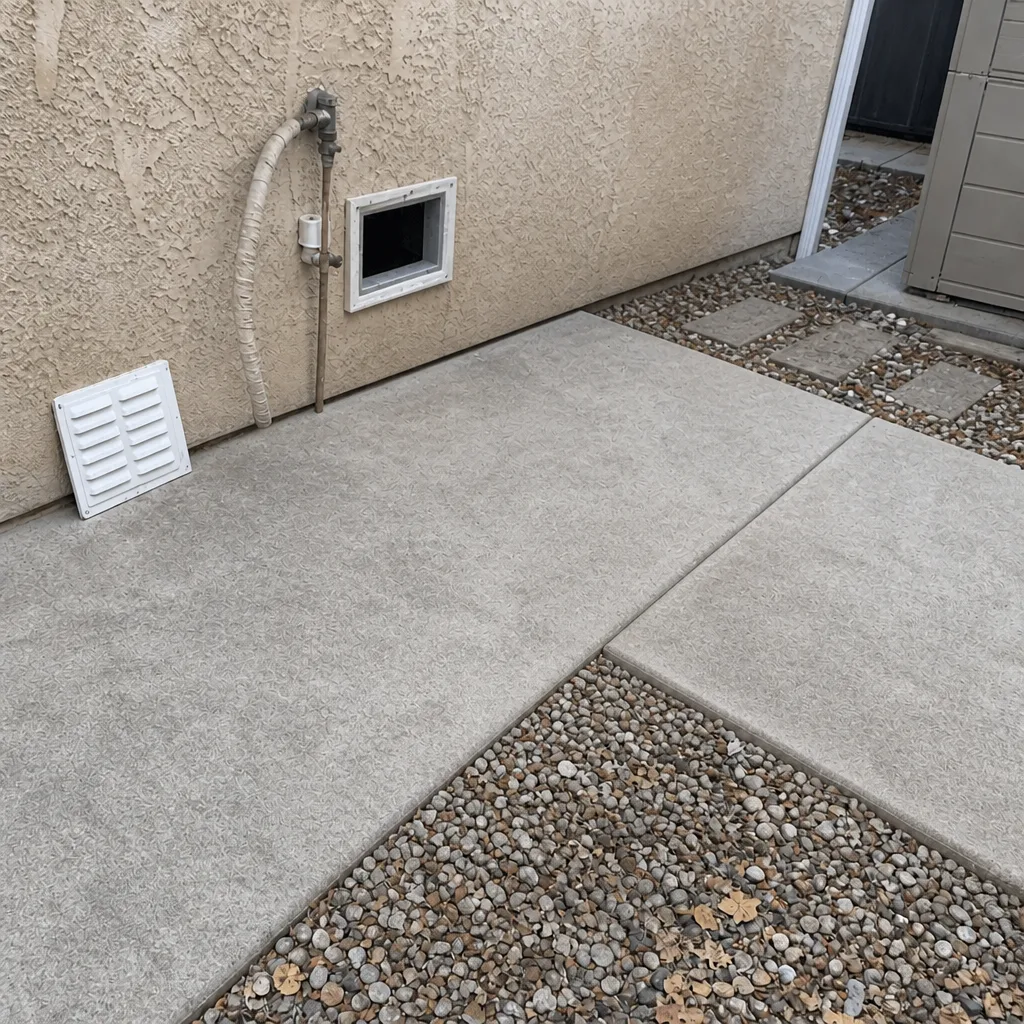 After
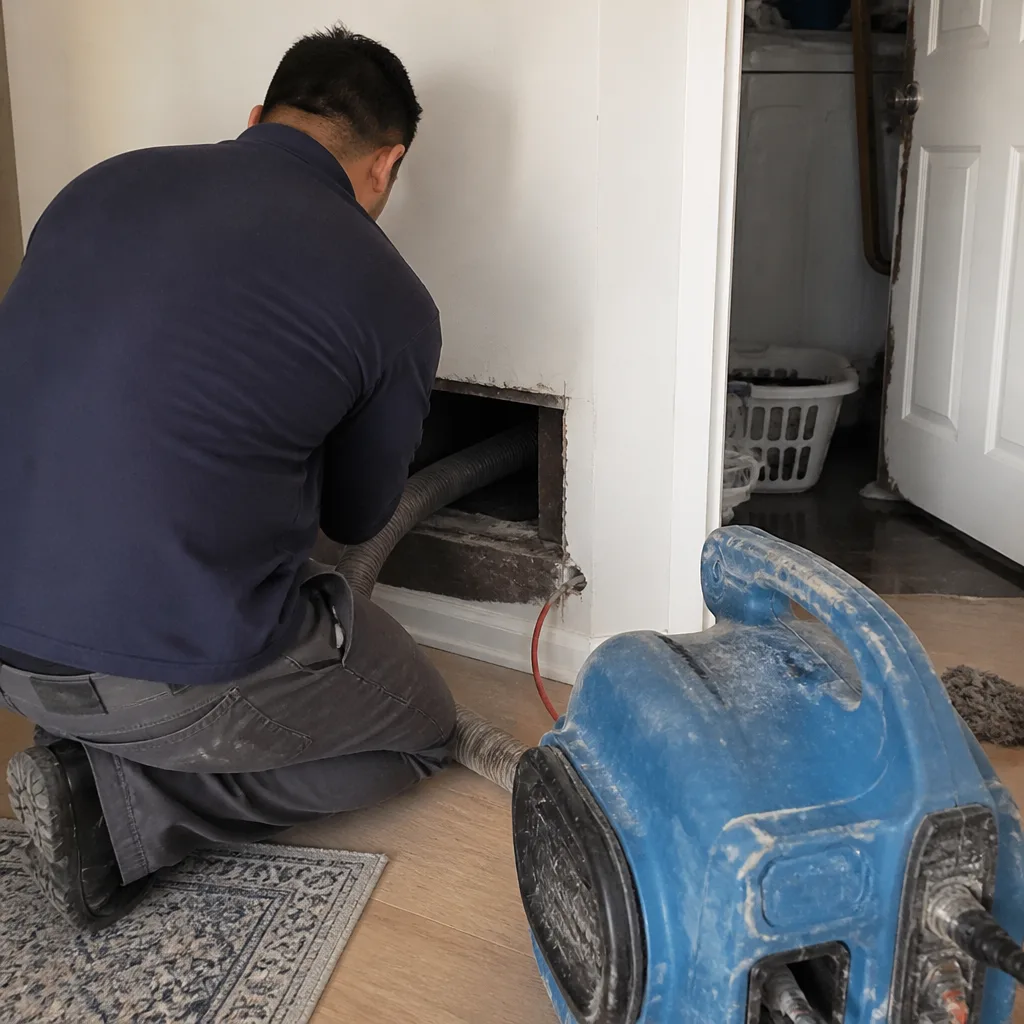 Before
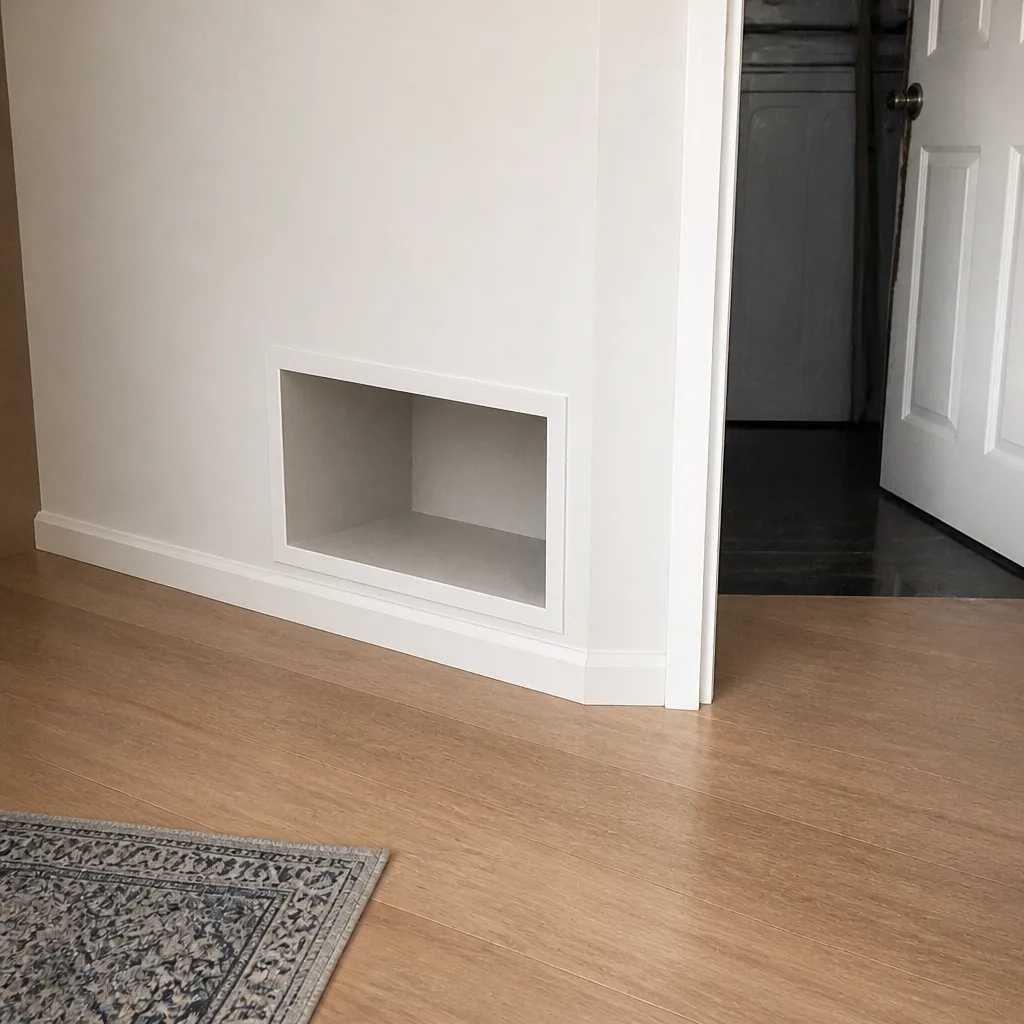 After
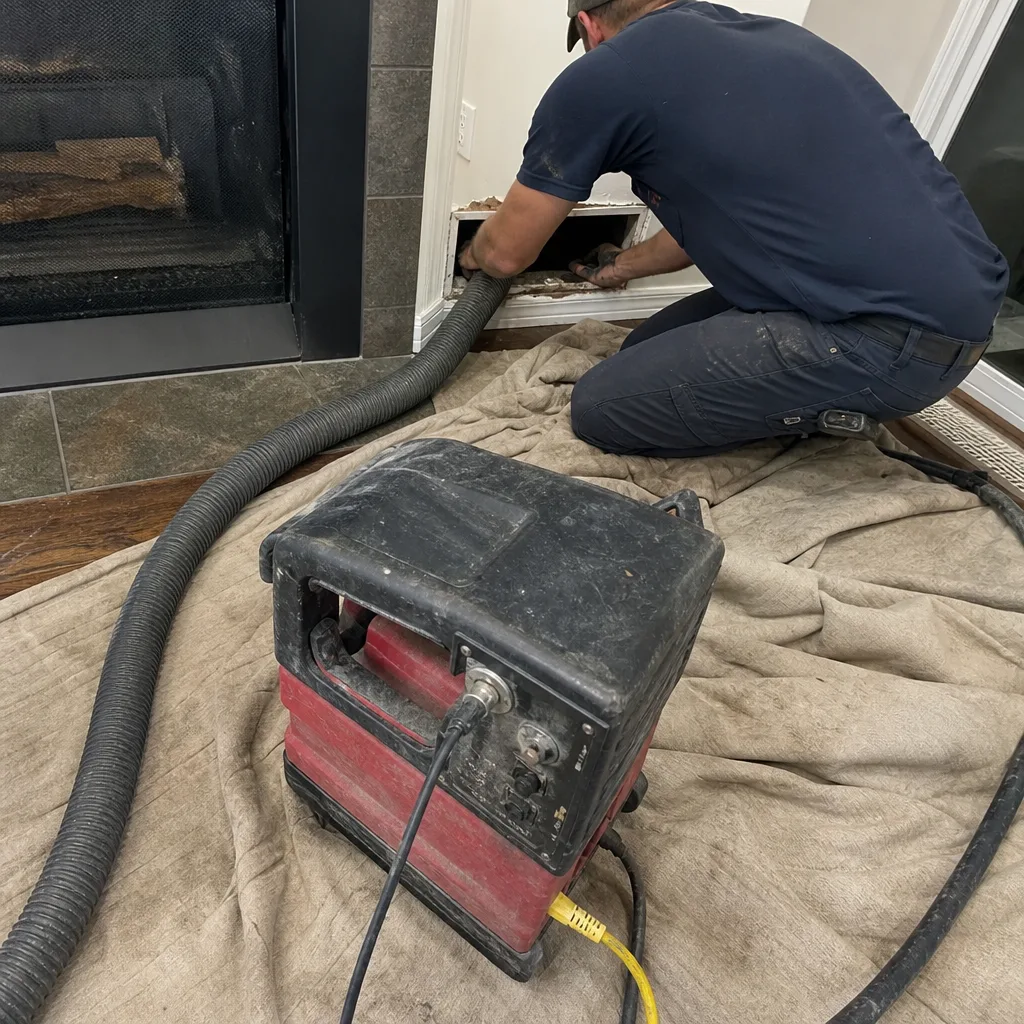 Before
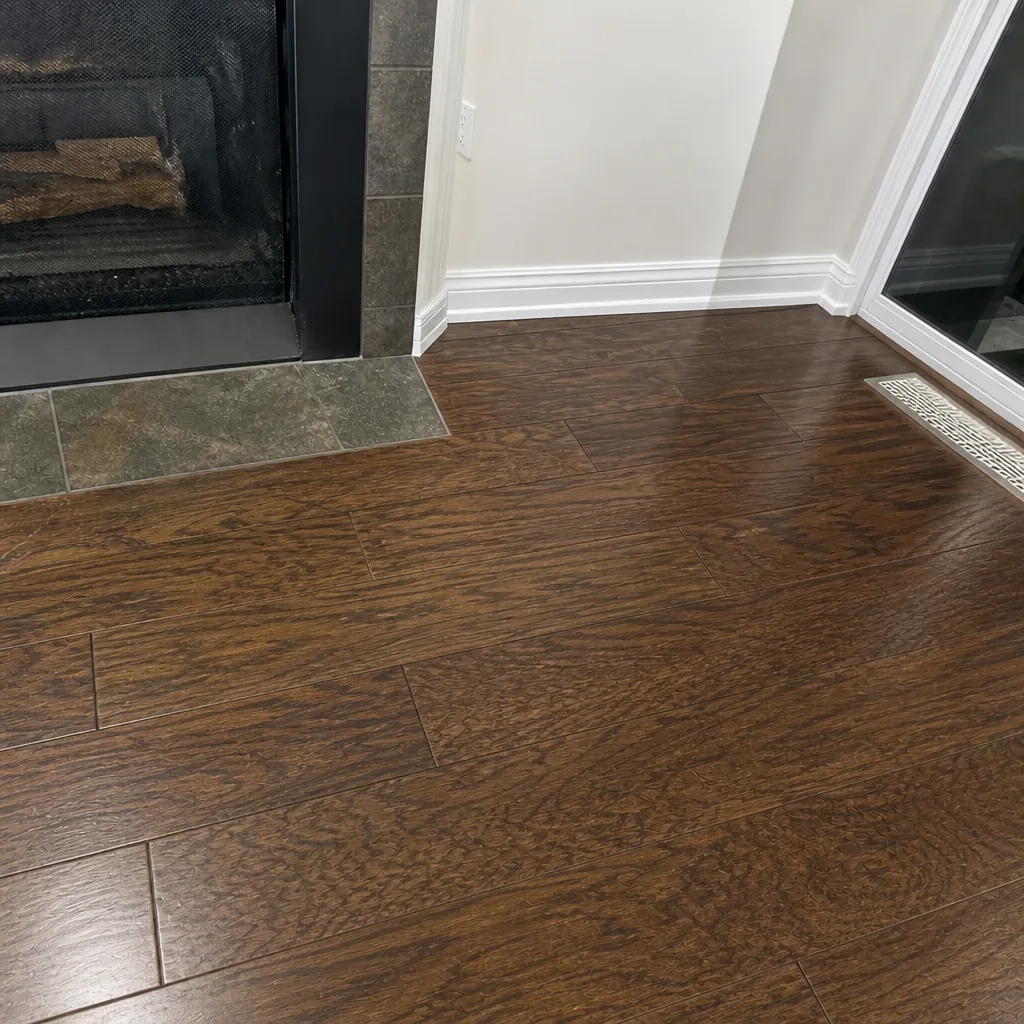 After
When to Call a Professional
Call a professional when any warning sign shows up on its own and doesn’t resolve within a few weeks, and call sooner if two or more signs appear together. Specifically: a room that won’t respond to thermostat adjustments while other rooms are fine; a startup smell that returns every cycle; visible attic duct damage you can see from a ladder; an energy bill that has stepped up and stayed up year over year; radial streaking from a register that wasn’t there last season; a dryer that takes two cycles to dry a load. Those are the cases where an inspection is worth arranging rather than waiting on.
Our technicians have up to experience with duct systems in Sparks, and we handle air duct cleaning, air duct repair, and dryer vent cleaning under one roof. We find problems and fix them in the same visit where the scope allows. Duct Cleaning Sparks offers free estimates in Sparks – call (888) 561-9258. We answer 24/7. Fast dispatch from 7am to 7pm, Sunday through Friday.
Frequently Asked Questions
A typical whole-system cleaning for a standard single-family home in Sparks runs in the low hundreds to the mid hundreds, and the written estimate sets the exact price. The range depends on the number of runs, the layout, accessibility in the attic, and whether repairs are needed alongside cleaning. We price by the whole system, not per vent, and we provide the number in writing before work starts. Call (888) 561-9258 for a free estimate – we answer 24/7, with fast dispatch from 7am to 7pm, Sunday through Friday.
Cheap quotes usually reflect a smaller scope, not a better price. A low teaser figure often covers a quick vacuum of the first few feet of duct and the visible registers, with the main trunk and inner runs left untouched. The equipment matters too: a shop-vac setup costs a fraction of a rotary brush and HEPA extraction system, and it removes a fraction of the debris. Ask what equipment will be on the job and what the scope includes in writing. Call (888) 561-9258 for a quote that describes the actual job.
Ask for before-and-after photos of your own ducts, taken at the same locations inside the main trunk and several individual runs. Photographs of your system are the single most useful form of proof, and any technician who does the work should be able to provide them as a standard part of the job. You should also see documentation for any problem the technician recommends fixing. Call (888) 561-9258 to schedule an inspection with photo documentation.
There’s no fixed interval, but most Sparks homes benefit from an inspection every few years and cleaning when the inspection says it’s needed. Homes with shedding pets, recent remodels, windy open-land exposure, or visible warning signs need it more often. A well-sealed system with good filtration needs it less often. An inspection with photographs and register-by-register airflow readings is the way to decide rather than guessing. Call (888) 561-9258 to book one – estimates are free.
No. A musty smell that appears when the system first starts and fades within a few minutes can come from the evaporator coil, from the ducts themselves, or from a dead animal in the system. The distinction matters because the fix differs. In our experience in Sparks, coil contamination is the most common of the three, and duct cleaning alone won’t resolve it. An inspection that follows the smell to its strongest point identifies the source. Call (888) 561-9258 for an inspection.
Yes. Our Sparks team handles air duct repair as a standalone service alongside air duct cleaning, so damaged runs, disconnected joints, and crushed sections found during the cleaning can usually be repaired in the same visit. That avoids a second appointment and a second trip and gets the system sealed up before more air leaks into the attic. Call (888) 561-9258 to schedule an inspection and estimate.
The Bottom Line
The useful warning signs of a duct problem are the early ones: a vent that lags behind the others, a smell on startup that fades, condensation stains in the attic, an energy bill that has stepped up and stayed up, dust that streaks from a register, and a dryer that takes longer to dry. Each of them points to a specific cause, and each is cheaper to resolve the earlier it’s caught. None of them require emergency action; all of them reward a timely inspection. In Sparks, the summer heat load and the long cooling season make duct integrity a maintenance issue worth a twice-a-year attic check and a periodic professional inspection. What you want is documentation you can verify – before-and-after photos, a whole-system scope, a flat price in writing – not a coupon in the mailbox.
If you’ve noticed any warning sign in this guide, or if you’d just like a baseline inspection with real photos of what’s inside your ducts, we can help. Call Duct Cleaning Sparks at (888) 561-9258 for a free estimate. We answer 24/7. Fast dispatch from 7am to 7pm, Sunday through Friday. Clean ducts. Repaired ducts. Safe dryer vents. We find problems and fix them in the same visit where we can, and we leave you with air quality you can verify.
Written by the team at Duct Cleaning Sparks.