
Last updated November 16, 2026
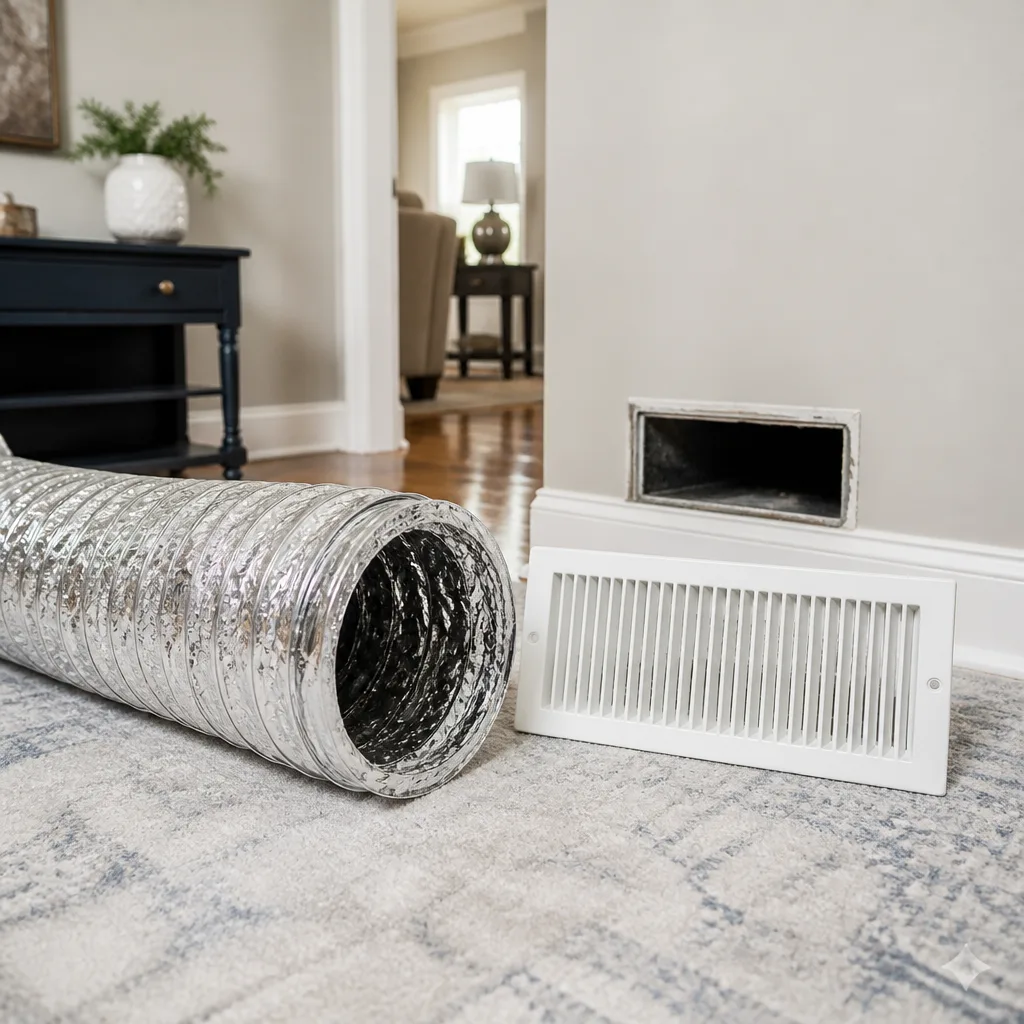 Whole-home duct cleaning
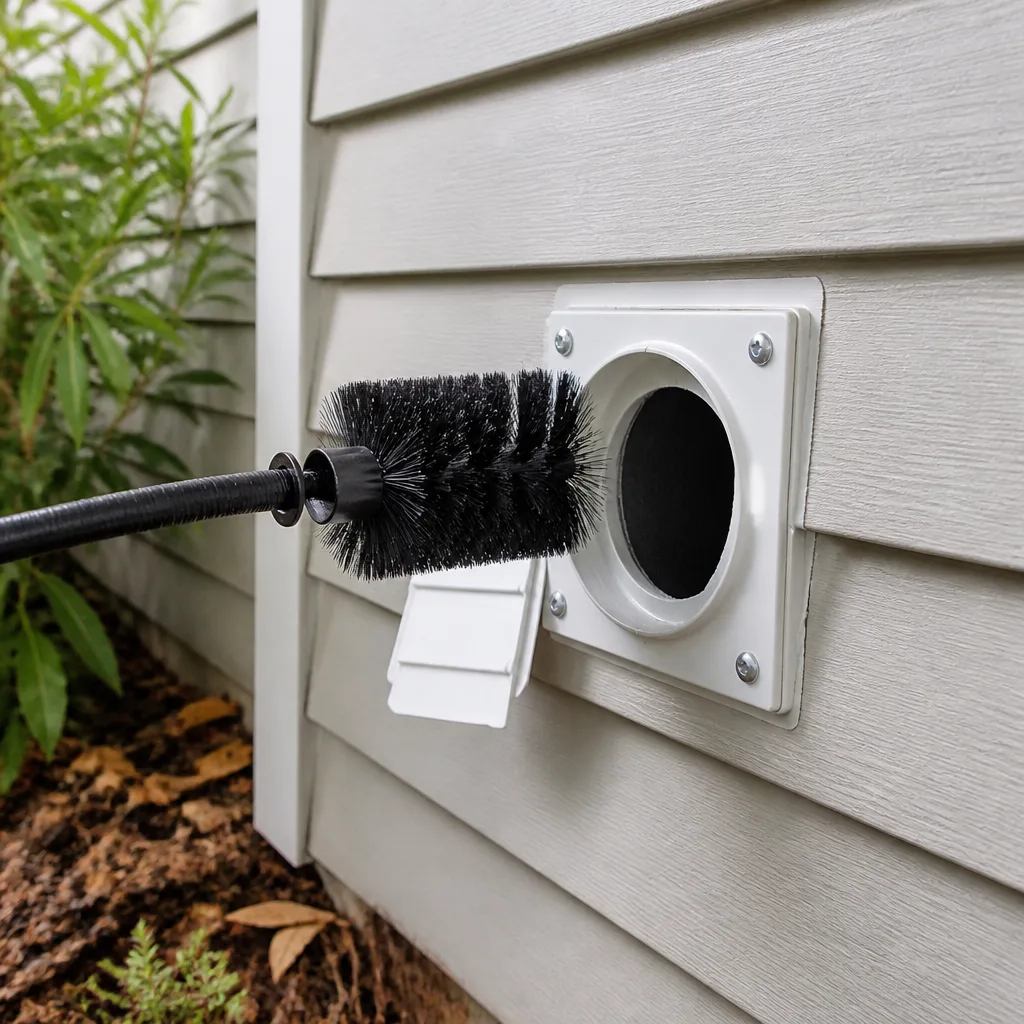 Dryer vent cleaning
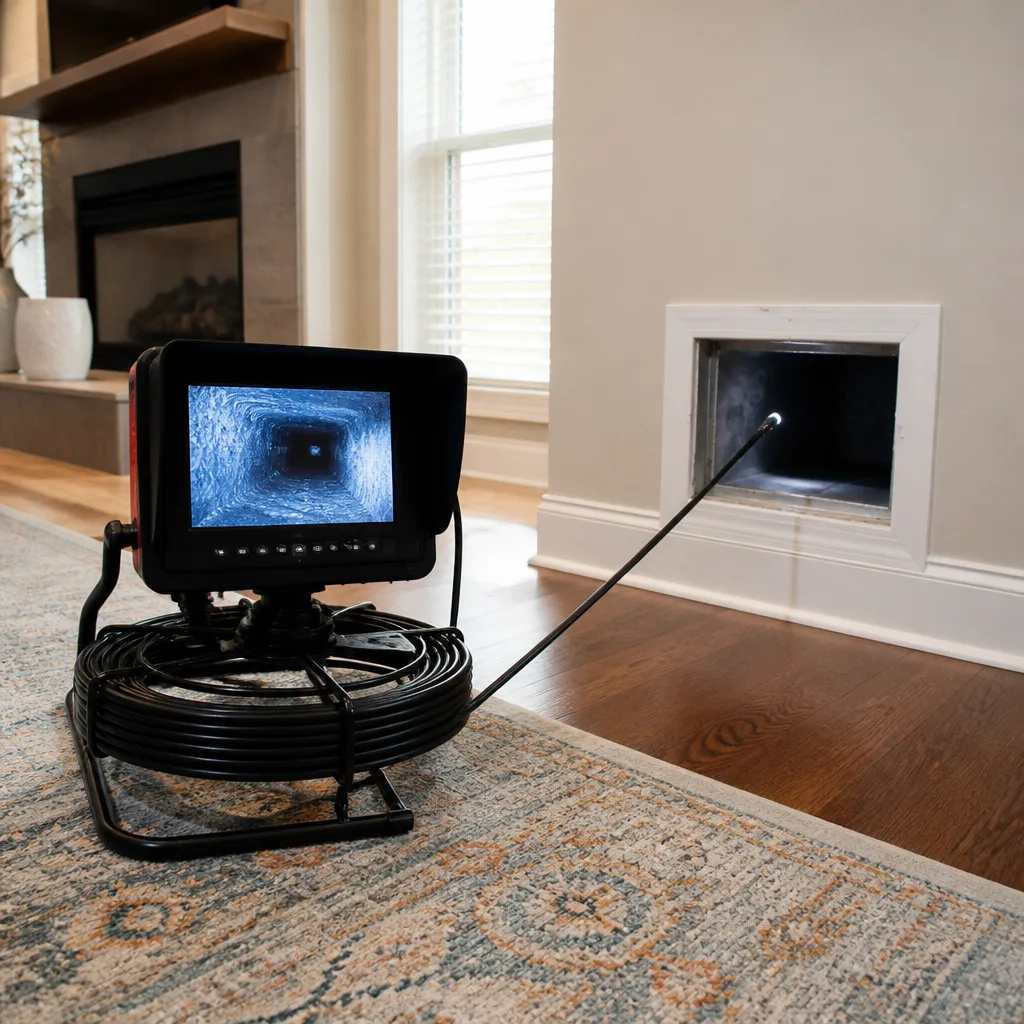 Camera inspection
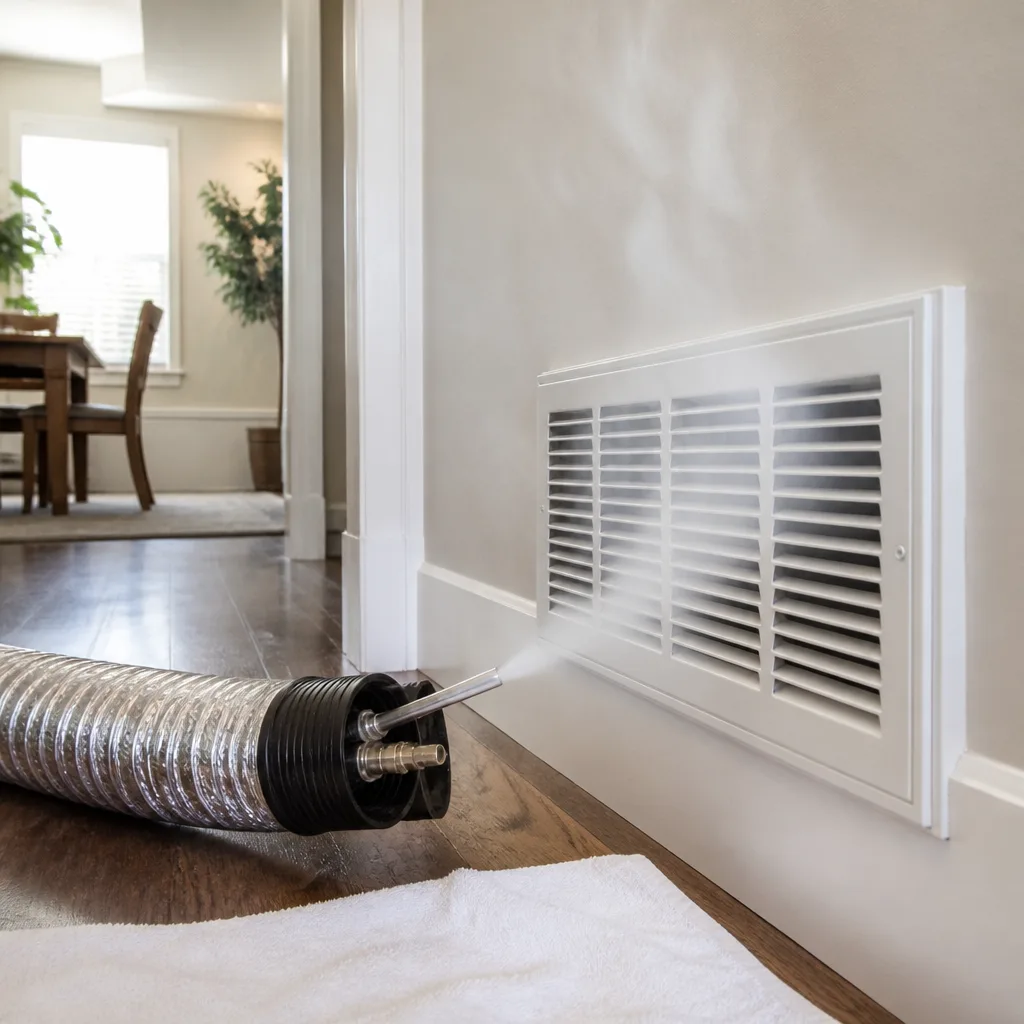 Sanitizing & deodorizing
Whole-system duct and dryer vent check with before-and-after photos - you see exactly what came out of your vents
That "$99 whole-house special" is a bait ad - the real number appears once they are in your hallway, or the "clean" is a shop-vac at the register. We photograph the inside of your ducts before and after instead.
Air Duct Repair Troubleshooting in Sparks: Common Problems and How to Fix Them
Duct tape is not rated for ductwork. The cloth-backed adhesive most people grab at the hardware store loses its grip above 140°F, and a supply plenum in a Sparks attic passes that mark regularly through July and August. If duct tape is the only thing holding a joint on your system together, you don’t have a repair. You have a temporary patch that’s already failing. This guide walks through the three failure zones we find most often in Sparks homes – flex duct joints, panned floor joists used as return plenums, and boot connections at the register – and gives you the same decision logic a technician uses to tell whether you’re looking at a $12 mastic job or a section that needs replacing.
Quick Answer
Most air duct problems in Sparks trace to one of three places: a failed joint in the flex duct run, an unsealed panned floor joist acting as a return, or a boot connection that has pulled away from the register. You can often identify which one you have with a flashlight and a lit incense stick before anyone touches a tool. The fix ranges from a tube of mastic to replacing a full duct section, and the diagnosis is what tells you which.
Styles & brands we work with
- Whole-home duct cleaning
- Dryer vent cleaning
- Camera inspection
- Sanitizing & deodorizing
Table of Contents
- The Three Failure Zones in Sparks Ductwork
- How to Pressure-Test a Duct Section with an Incense Stick
- Flex Duct Failure Modes in Attic Installations
- Panned Joist Returns: The Most Missed Repair Site
- Boot Connections at the Register
- Mastic vs. Metal Tape vs. Duct Tape
- When a DIY Repair Creates a Code Violation
- When to Call a Professional
The Three Failure Zones in Sparks Ductwork
Duct systems fail in predictable places. In our experience across Sparks homes, the problems cluster in the same three spots on nearly every service call. Knowing where to look saves you from tearing into the wrong part of the system.
Zone one: flex duct joints. The connection where one section of flex duct meets another, or where flex meets rigid trunk, is the weakest point. The inner liner is a thin plastic sleeve, and the outer jacket is a separate layer. When either one separates at a joint, the system leaks air into the attic instead of delivering it to the room.
Zone two: panned floor joists used as return plenums. Many older Sparks homes were built using the space between floor joists as a return air path, with sheet metal or drywall panning closing off the cavity. That panning is often sealed with nothing better than construction adhesive and gravity. When it fails, the return pulls attic air, dust, and insulation fibers straight into the system.
Zone three: boot connections at registers. The boot is the metal or plastic fitting that turns the duct from the attic or floor cavity up to the register grille. The flex duct slides over the boot collar and is held with a zip tie or a band. That connection works loose over years of thermal cycling, especially in a desert climate where the attic swings from cold mornings to 150°F afternoons.
Each zone has a different tell. A flex joint leak usually shows as dust streaks on the attic sheathing near the joint. A panned joist failure shows as a persistent musty or dusty smell and uneven return performance. A boot failure shows as a draft at the register face or a visible gap behind the grille.
How to Pressure-Test a Duct Section with an Incense Stick
You don’t need a duct blaster to find a leak. A lit incense stick and a flashlight will do the job on a system that’s running. The trick is understanding what the smoke pattern is telling you.
- Turn the system to fan-only. You want airflow without heating or cooling, so the leak shows clearly and you aren’t fighting a temperature difference.
- Light the incense and hold it near the suspect joint. Keep the tip about two inches from the seam. Move slowly. The smoke column reacts to even a small air movement.
- Watch for the smoke to be pulled toward the seam. If the smoke bends into the joint, that’s a supply-side leak. Positive pressure inside the duct is pushing air out and drawing air in around it.
- Watch for the smoke to be blown away. If the flame or smoke wafts away from the joint, that’s a return-side leak pulling air in. The pattern is subtler and often shows as smoke disappearing into a gap rather than blowing past it.
- Check the register face last. Hold the incense at the edge of the register. Smoke pulled into the gap between the boot and the drywall means the boot isn’t sealed to the opening.
A flashlight matters as much as the incense. Run it along the joint at a low angle and look for a shadow line or a streak of dust where air has been escaping. Dust accumulates around a leak the way sand collects at the edge of a screen door. The incense confirms what the flashlight finds. Our technicians use an air duct cleaning step with a Rotobrush rotary brush system to clear the debris that accumulates around a leaking joint before sealing it, because a repair over a debris bed won’t hold.
Flex Duct Failure Modes in Attic Installations
Flex duct has three distinct ways of failing in an attic, and each one presents differently at the register. Diagnosing which failure you have determines whether you’re looking at a repair or a replacement.
Inner liner separation
The inner liner is the smooth plastic or foil sleeve that actually carries the air. When it separates from the outer jacket at a joint, it can fold back on itself or bridge across the collar. The tell at the register is reduced airflow that gets worse over time, with a whistling sound. The outer jacket looks fine because it is. The problem is entirely inside.
Outer jacket tears
The outer jacket is the vapor barrier, the insulated layer that keeps the supply air cold in a 150°F attic. A tear in the jacket doesn’t leak much air, but it does let the supply air heat up before it reaches the room. The tell at the register is weak cooling even though the system is running and the air volume seems okay. You’ll often see the tear as a split or sun-cracked section of the jacket in the attic, especially in south-facing runs.
Collapsed core
A collapsed core is when the inner liner has crushed flat or twisted closed. This happens when flex duct is pulled too tight around a corner, or when a run has sagged and the inner liner pinches shut under its own weight. The tell at the register is almost no airflow at all, and it’s usually not uniform. The register at the end of the collapsed run gets nothing while registers upstream get plenty.
If you can reach the run in the attic, start at the plenum and trace back to the register. Look for a sharp bend where the duct was pulled tight, a sag, or a joint where the jacket has separated. If the inner liner is separated or collapsed, that run needs to be replaced, not patched. A torn jacket can sometimes be repaired with mastic and a jacket patch, but only if the inner liner is still intact. This is where professional-grade equipment matters: a Nikro HEPA-rated vacuum lets us pull accumulated attic debris out of a run before we assess whether it’s reparable, rather than guessing from the register face.
Panned Joist Returns: The Most Missed Repair Site
Panned joist returns are the single most overlooked repair site in Sparks homes, and the least understood. If your home was built before building codes required dedicated return ductwork, you may have them and not know it.
Here’s what a panned joist return is: the space between two floor joists, capped on the bottom with sheet metal or drywall, is used as the return air path from a room back to the furnace. The panning is the “duct.” It was a common, cheap way to build a return path in the 1960s through the 1980s. It works well enough when the panning is sealed. It fails badly when it isn’t.
How to identify one without pulling drywall:
- Look for a return grille in a floor or wall with no visible duct behind it in the basement or crawl space.
- Check the furnace area: a panned joist return lands in the return plenum as a rectangular opening the width of a joist bay.
- Look for a bay that’s sheet-metal-panned on the underside. Run a flashlight along the joist line in the basement or crawlspace.
- If a bay is open with no panning, it’s not a return; it’s just a bay.
The failure mode is almost always at the panning seams and where the panning meets the floor. Those seams were often sealed with construction adhesive that has gone brittle, or with duct tape that stopped holding years ago. The result is a return that pulls crawlspace air or wall cavity air into the furnace and distributes it through the house. In our experience, when a homeowner in an older Sparks neighborhood reports a persistent dusty smell that comes back days after cleaning, a failed panned joist return is a strong suspect.
The repair is usually accessible. The panning gets sealed with mastic at every seam, and any gap where the panning meets the subfloor gets sealed from the furnace side. If the panning is damaged or missing over a section, that section gets replaced. In most cases the whole job is a few hours of work, done from the basement and the furnace area, without opening a wall in the living space.
Boot Connections at the Register
The boot is the last fitting in the run, the connection between the duct and the register grille. It’s also the most commonly ignored seal in the whole system because it’s behind a grille you can’t see through.
Two things fail at the boot. The first is the boot-to-duct connection: the flex duct slides over the boot collar and is held with a zip tie they call a “duct tie.” That tie loosens, the connection loosens, and air leaks into the wall or floor cavity instead of the room. The second is the boot-to-drywall gap: the boot is set into a rough opening in the drywall or subfloor, and it’s supposed to be sealed around the perimeter. In many homes it’s not sealed at all, and the register grille covers a quarter-inch gap all the way around.
How to check without removing the boot:
- Hold a lit incense stick at the edge of the register face, where the grille meets the wall.
- If the smoke is pulled into the gap on a supply register, you have a boot-to-drywall leak.
- Remove the grille (usually a couple of screws) and look behind it.
- If you can see daylight at the collar or a clear gap where the boot meets the opening, that’s your leak.
The repair is straightforward when you can reach it: mastic around the perimeter of the boot where it meets the wall or subfloor, and a mastic seal at the collar where the duct meets the boot. Don’t reach for duct tape or a cheap caulk. The adhesive in duct tape fails within a few cooling seasons in the attic, and caulk is not rated for metal-to-drywall contact with air pressure on one side.
If the connection fails on an upstairs register, and you can’t get behind the boot from the attic side, this is a case where a professional trip is worth it. Reaching the boot from a second-story wall cavity without cutting drywall requires exactly the equipment set our technicians carry, and an incorrect reach can tear the flex duct and turn a small fix into a section replacement.
Mastic vs. Metal Tape vs. Duct Tape
The sealant you choose determines whether the repair outlasts the calendar. There are three materials people reach for, and only two of them belong on a duct system.
Mastic is the correct sealant for almost every duct joint. It’s a thick paste that goes on the joint and cures to a flexible, airtight bond. It’s rated for the temperature swings and the pressure differences across a duct joint, and it holds up to the thermal cycling a Sparks attic throws at it. Apply it with a brush or gloved fingers. Make sure the surface is clean and dry before you apply it, and give it time to cure before the system runs.
Metal tape (sometimes called foil tape or HVAC tape) is the correct choice for straight runs and for sealing over mastic when you want mechanical backup. It has an acrylic or butyl adhesive that’s rated for ductwork. It should not be the primary seal at a joint, but it’s a good second layer. It’s particularly useful sealing the seams on the panning of a panned joist return, where you want a hard mechanical surface and mastic alone could be abraided.
Duct tape (cloth-backed, the stuff in every garage) is not rated for ductwork, and this is the most common mistake we see. The pressure-sensitive adhesive loses its grip above 140°F. In a Sparks attic, a supply plenum regularly exceeds that on a summer afternoon because it’s carrying 55°F air through 150°F ambient space, and the temperature gradient at the jacket surface pushes the adhesive past its rated range. Once the adhesive fails, the tape curls at the edges and the leak is worse than before because the tape can’t be re-used and the joint is now harder to seal.
A practical rule for the sparks homeowner doing their own diagnostic and repair: buy a small tub of mastic. Ignore the duct tape. Keep foil tape for back-up on seams. The difference in outcome is measured in cooling seasons: a mastic seal is still holding years later, while a duct tape repair often fails within two cooling seasons and forces a redo.
When a DIY Repair Creates a Code Violation
A repair that works and a repair that passes are two different questions. The single most common code issue we find is a repair that’s been covered over with insulation before it’s had a chance to be inspected, and that’s a problem because it hides the work just well enough that a future home inspection or a rental inspection will not be able to verify it was done correctly.
The reason insulation-over-a-fresh-repair is a violation isn’t a trick in the code. It’s that most building departments want to see the joint as it was sealed, and an insulated-over repair can’t be seen. The inspector has to either trust the repair was done right or ask for it to be opened up. In a rental-inspection situation, that can mean cutting back a section of insulation and starting over. In a home-sale situation, that can mean a repair that reads as undocumented and undermines the value of the whole job.
What this means for a homeowner doing their own repair:
- Take before-and-after photos of every joint you seal, with a tape measure or a room feature in frame for scale.
- Don’t necessarily re-insulate over a fresh seal until you’re sure you don’t need anyone to look at it.
- If you’re doing the work for a rental inspection, ask the inspector what documentation they want before you start.
- Most Sparks municipalities require a permit for new ductwork but not for repairs. Check with the city building department before you assume your repair is exempt.
When we do a repair, we photograph the joint before and after. That documentation is part of what you get, whether you need it for a sale, a rental inspection, or just your own records. When we work with an Abatement Technologies air filtration tool as part of the job, the same photographic record goes alongside the air-quality report so the homeowner can see what changed.
If you’ve already done a repair and you’re not sure whether it’s documented well enough, take fresh photos now. That’s the difference between a repair that can be demonstrated and one that gets re-opened.
See the difference
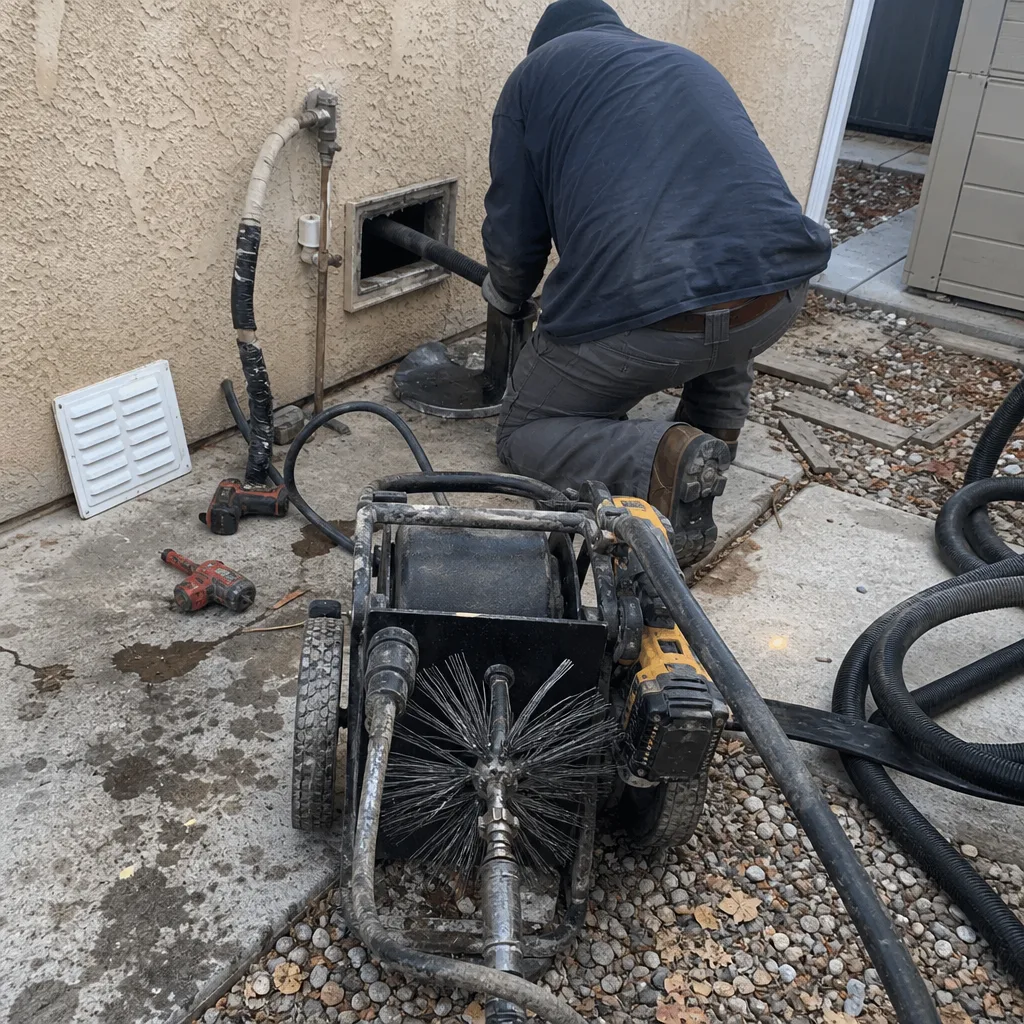 Before
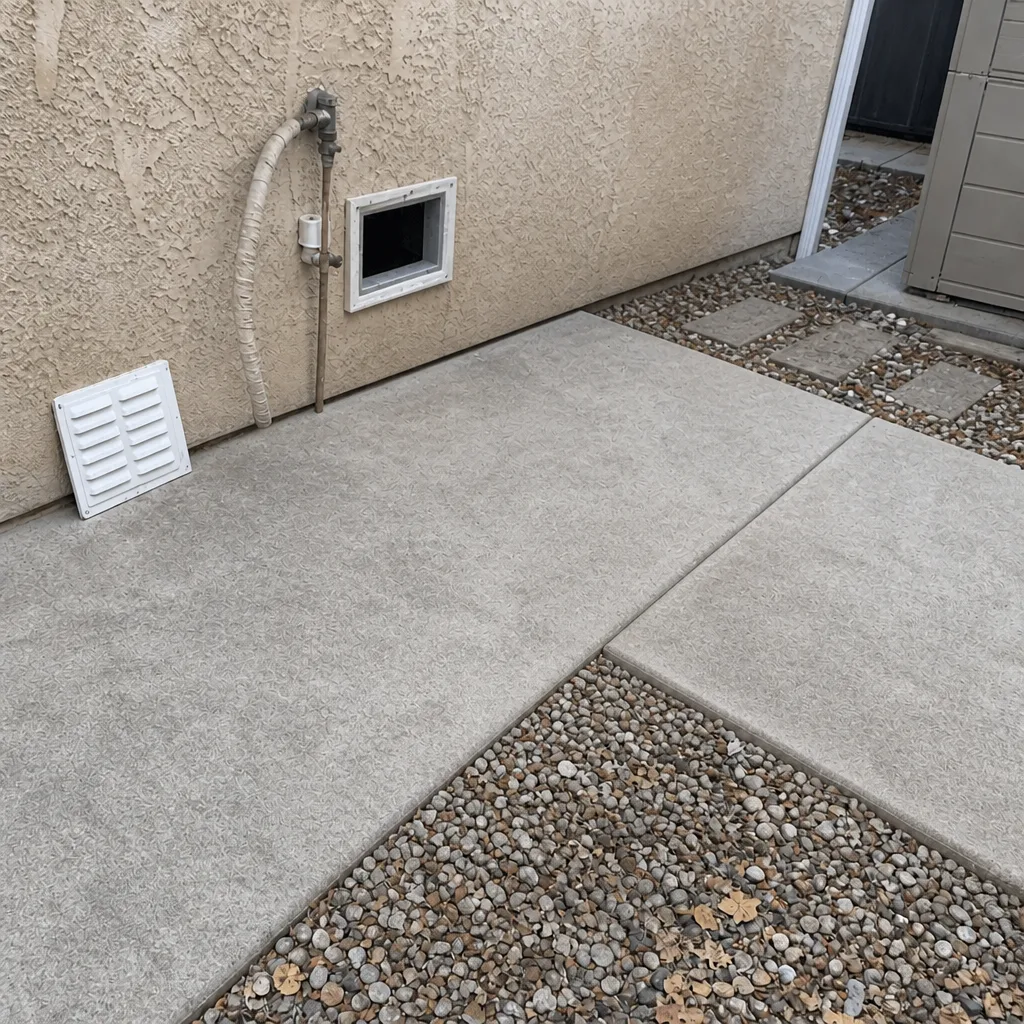 After
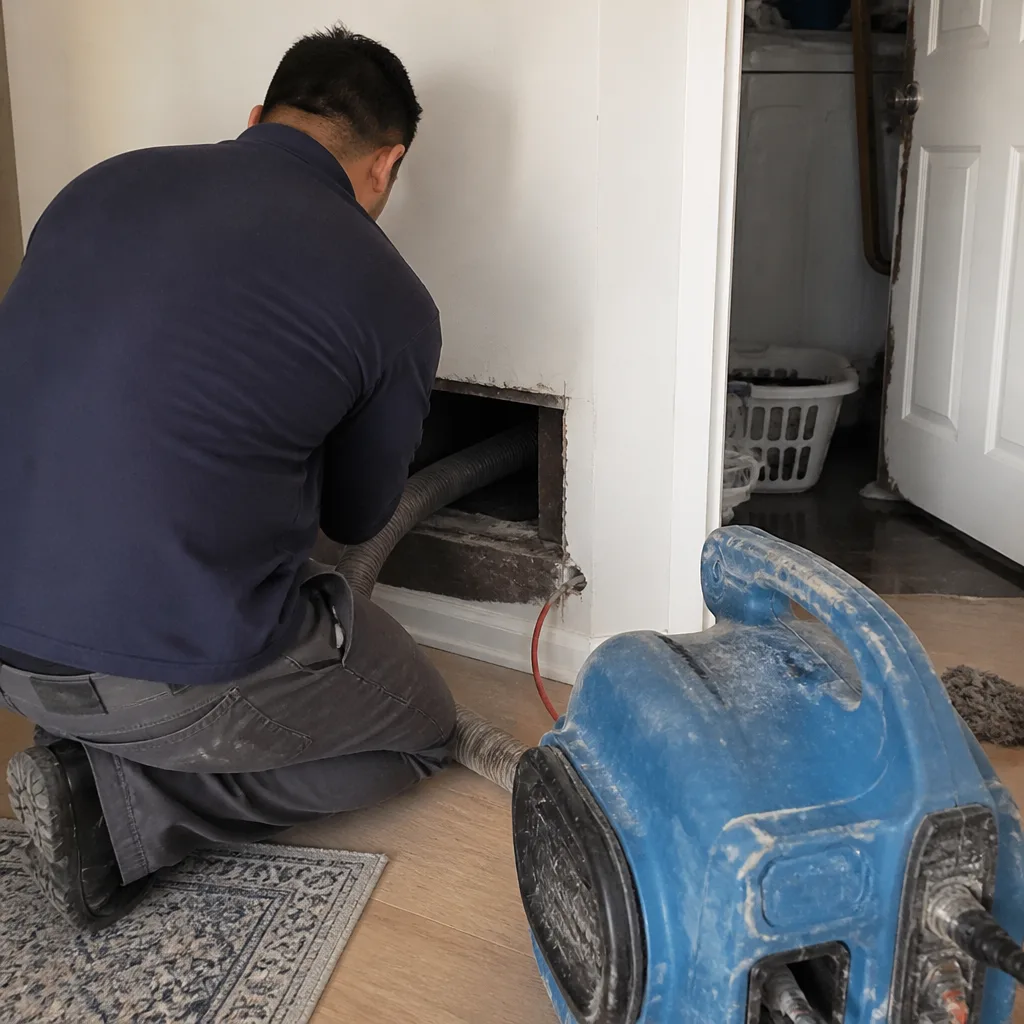 Before
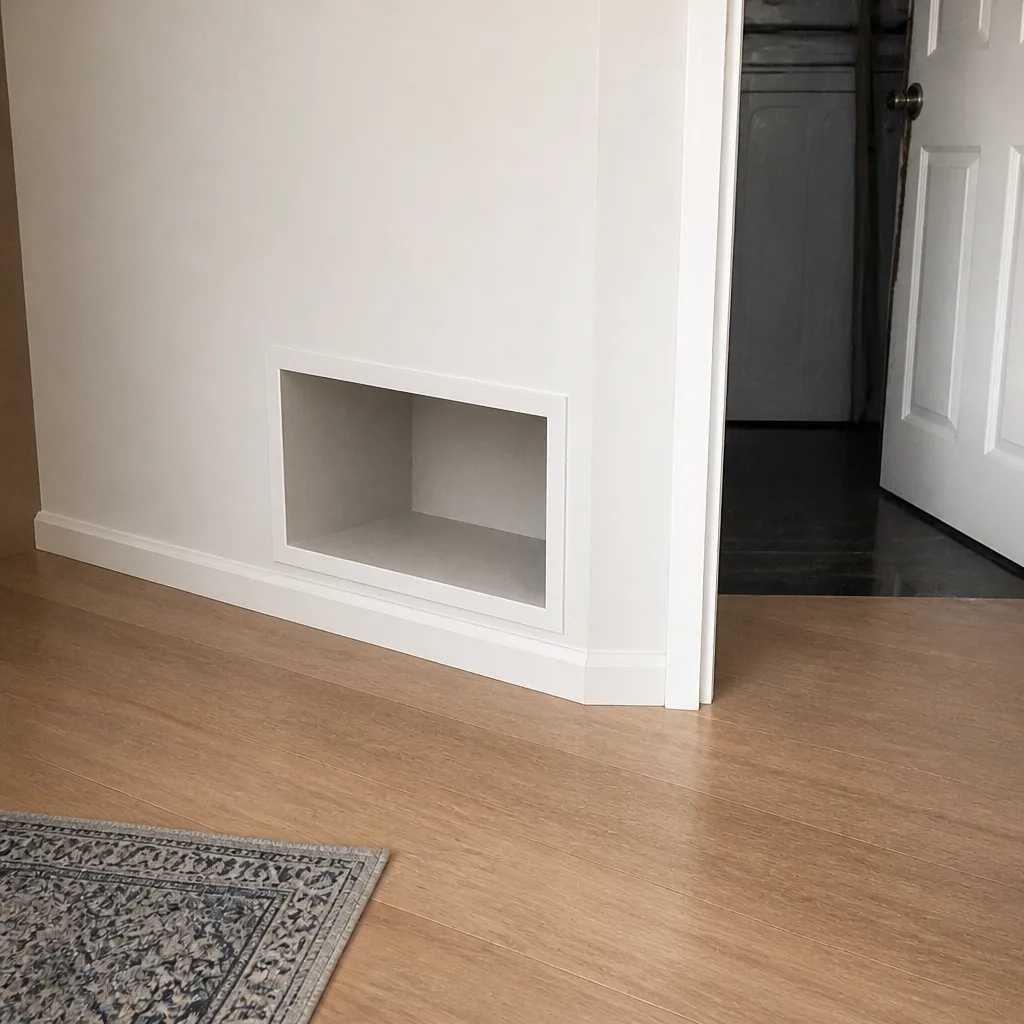 After
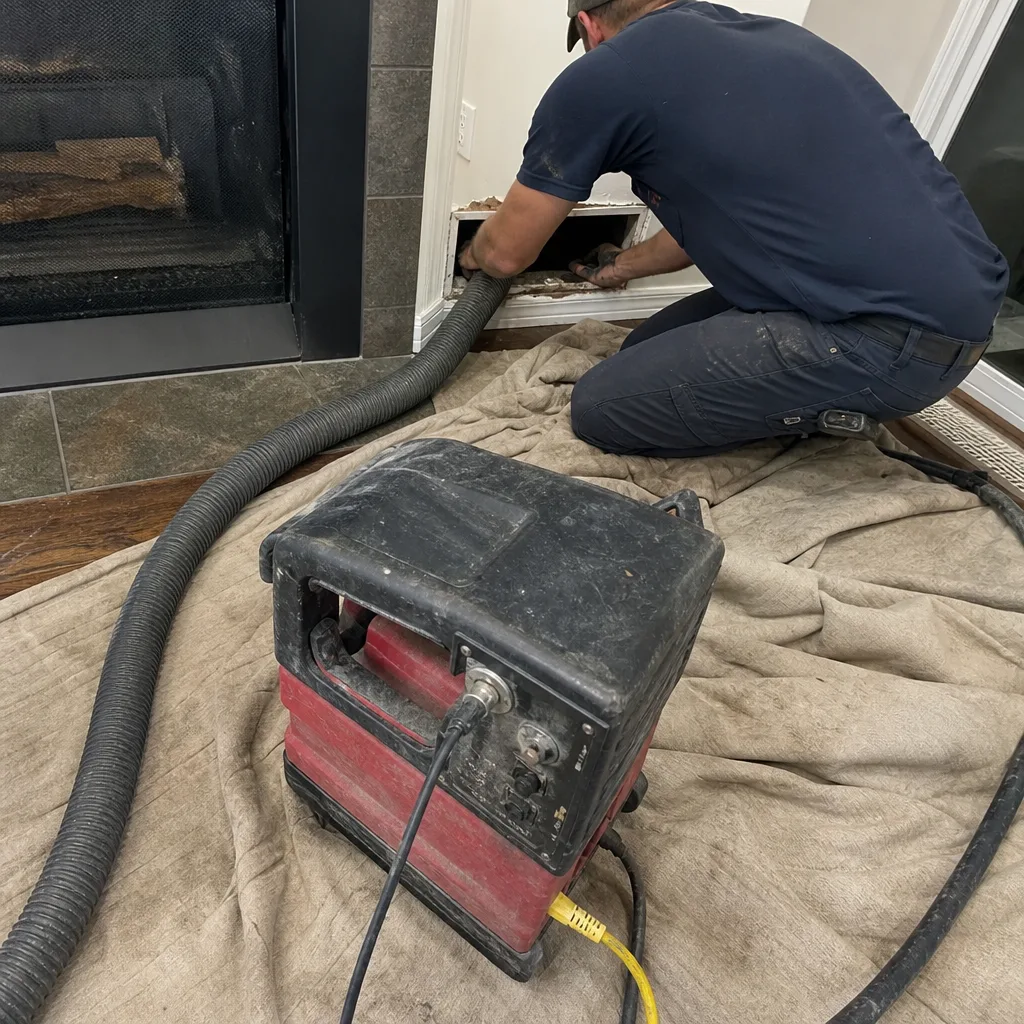 Before
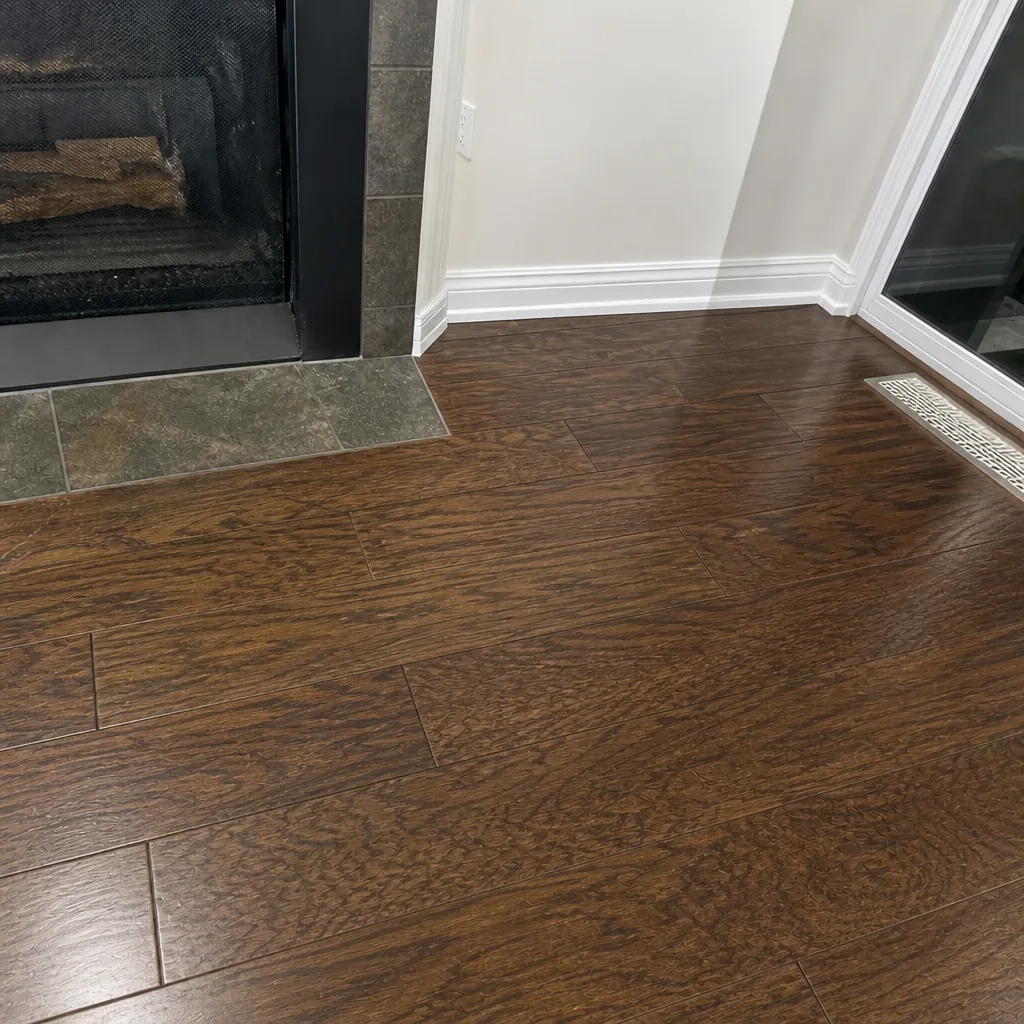 After
Common Mistakes to Avoid
- Using duct tape as the primary seal at a joint. The adhesive fails above 140°F, which a supply plenum in a Sparks attic exceeds routinely. It curls off within a cooling season or two and the leak is worse than before.
- Reaching through a boot without releasing the flex duct. A lot of flex duct tears happen when someone reaches through a ceiling register to grab the duct and pulls it. That turns a small leak into a section replacement.
- Sealing a panned joist return from the wrong side. Sealing from the room side is nearly impossible and doesn’t work. The seal has to go on the panning at the furnace end, where the seams and the joint to the floor are visible.
- Ignoring the boot-to-drywall gap because you can’t see it. A quarter-inch gap all the way around a register face is common in older Sparks homes, and it’s easy to miss because the grille covers it. An incense stick finds it in under a minute.
- Diagnosing a collapsed flex core as a “weak system.” A collapsed core shows as no airflow at one register while the rest of the system works fine. Homeowners often spend money on the wrong fix because nobody traced the duct run back to the pinch point.
- Covering a fresh seal with insulation before it’s inspected. If you’re doing the work for a rental inspection or a home sale, insulation over an unreviewed repair can mean the work gets re-opened. Photograph the seal first, or wait for the inspection.
- Skipping the duct cleaning before the repair. A seal over accumulated debris bed doesn’t hold as well, and the debris won’t go away. Our technicians use a Duct Cleaning Sparks cleaning step first, then repair the joint on the same visit.
When to Call a Professional
Some duct problems are a flashlight-and-mastic job. Others aren’t, and knowing the difference saves you from turning a small fix into a bigger one. Call a professional when the leak is in a run you can’t safely reach, when a flex run has a separated inner liner or a collapsed core, when the boot connection on an upstairs register is behind drywall you can’t get behind from the attic, or when a panned joist return needs resealing in a section you can’t access from the furnace end.
Call us, too, if you’ve done a repair and can’t tell whether it’s holding. A free estimate tells you what’s been fixed correctly and what hasn’t. Duct Cleaning Sparks offers free estimates in Sparks. Our technicians have up to experience and arrive with professional-grade Rotobrush and Nikro equipment, and we can repair what we find on the same visit. Call (888) 561-9258. We answer 24/7. Fast dispatch from 7am to 7pm, Sunday through Friday. If you’ve got air duct work coming up in Sparks, that call is the fastest way to get to a written estimate.
Frequently Asked Questions
Air duct repair in Sparks typically runs in the low hundreds for a seal or a small joint repair, and more for a flex section replacement or a panned joist reseal. The right number is the one in the written estimate, after someone has looked at the run. Call (888) 561-9258 for an exact quote. Estimates are free.
Yes. Duct Cleaning Sparks offers Air Duct Repair as a standalone service, and when we find a leak during a cleaning we can typically fix it on the same visit. That means no second appointment and no separate trip charge. Call (888) 561-9258 to book a cleaning and a repair together.
A quote that’s much lower than the rest usually isn’t sealing the leak you’re trying to fix. It’s often duct tape over a joint, no cleaning step, no documentation, and no repair capability beyond the basics. A proper repair means mastic at the joint, a cleaning step first, and before-and-after photos. Our technicians use Rotobrush and Nikro professional systems on every job. Call (888) 561-9258 for a quote you can compare.
You know it was done when you can see the joint before and after, and when the airflow at the register changes in a measurable way afterward. We photograph every seal before and after. If a repair is done for a rental inspection or a home sale, that documentation is part of the deliverable. Call (888) 561-9258 to see what a documented repair looks like.
In most Sparks homes, a repair is the honest answer, especially when the failure is at a joint or a boot connection. Full replacement is rarely needed unless flex duct is collapsed or the panned joist system has failed across most of its run. A technician can tell the difference in about a half hour of looking with a flashlight and an incense stick. Call (888) 561-9258 for a free estimate.
Yes. Dryer vent cleaning is part of our service lineup, and it’s often a good time to have it done alongside duct work because the same high-temperature conditions that kill duct tape in a Sparks attic also shorten the life of a dryer vent.
The Bottom Line
Most Sparks duct problems come down to one of three failure zones – flex joints, panned joist returns, and boot connections – and a flashlight and a lit incense stick will tell you which one you’re looking at. The right sealant is mastic. The wrong one is duct tape. If the leak is in a spot you can reach and the joint is visible, a repair is often a few hours of work. If the run has a separated liner, a collapsed core, or a boot connection behind drywall you can’t get behind, that’s a job for someone with the right tools. Either way, get a written estimate before anyone touches a tool so the price you’ve agreed to is the price you pay. Clean ducts. Repaired ducts. Safe dryer vents.
Call (888) 561-9258 for a free estimate. We answer 24/7. Fast dispatch from 7am to 7pm, Sunday through Friday. Our technicians have up to experience and work with professional equipment including Rotobrush and Nikro systems, and we can repair what we find on the same visit. We’re licensed, insured and bonded, and every job gets a written estimate before work starts. Need dryer vent work too? Ask about dryer vent cleaning when you call.
Written by the team at Duct Cleaning Sparks.