
Last updated November 16, 2026
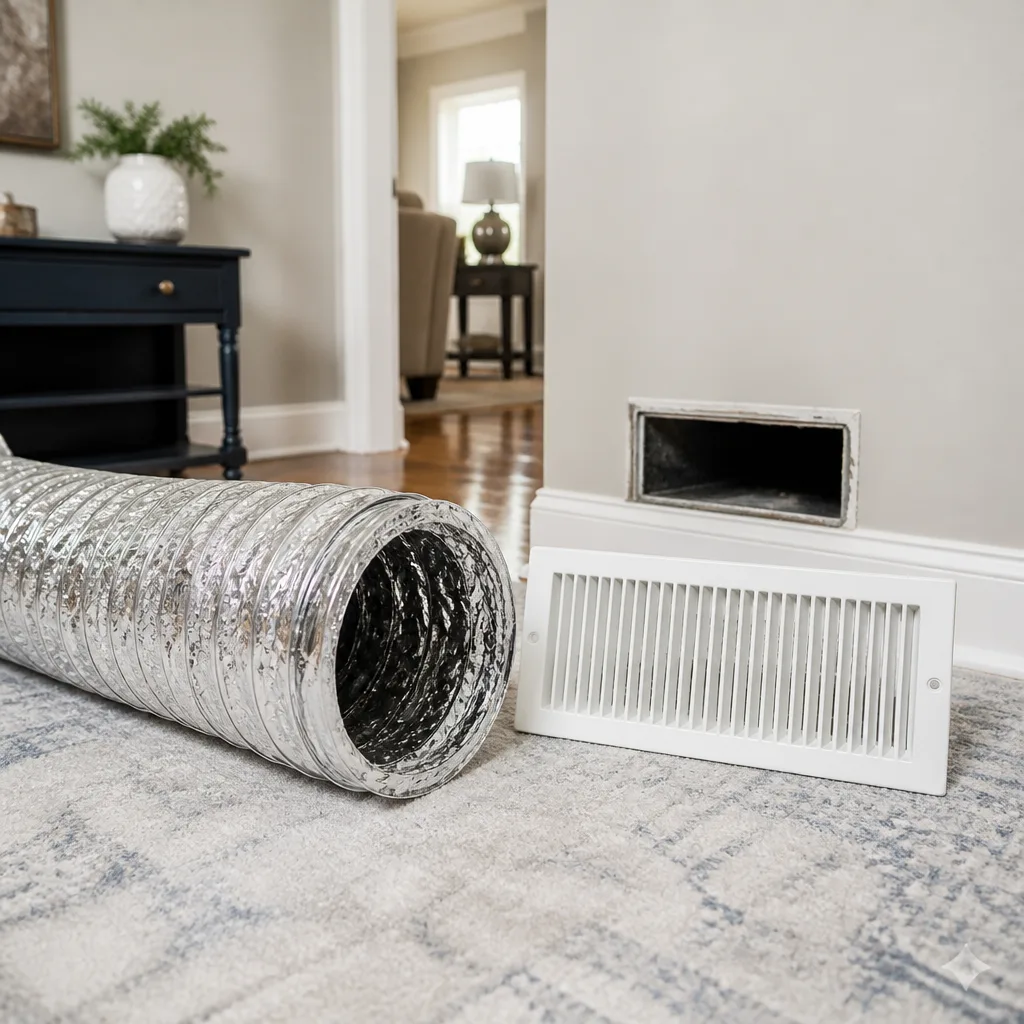 Whole-home duct cleaning
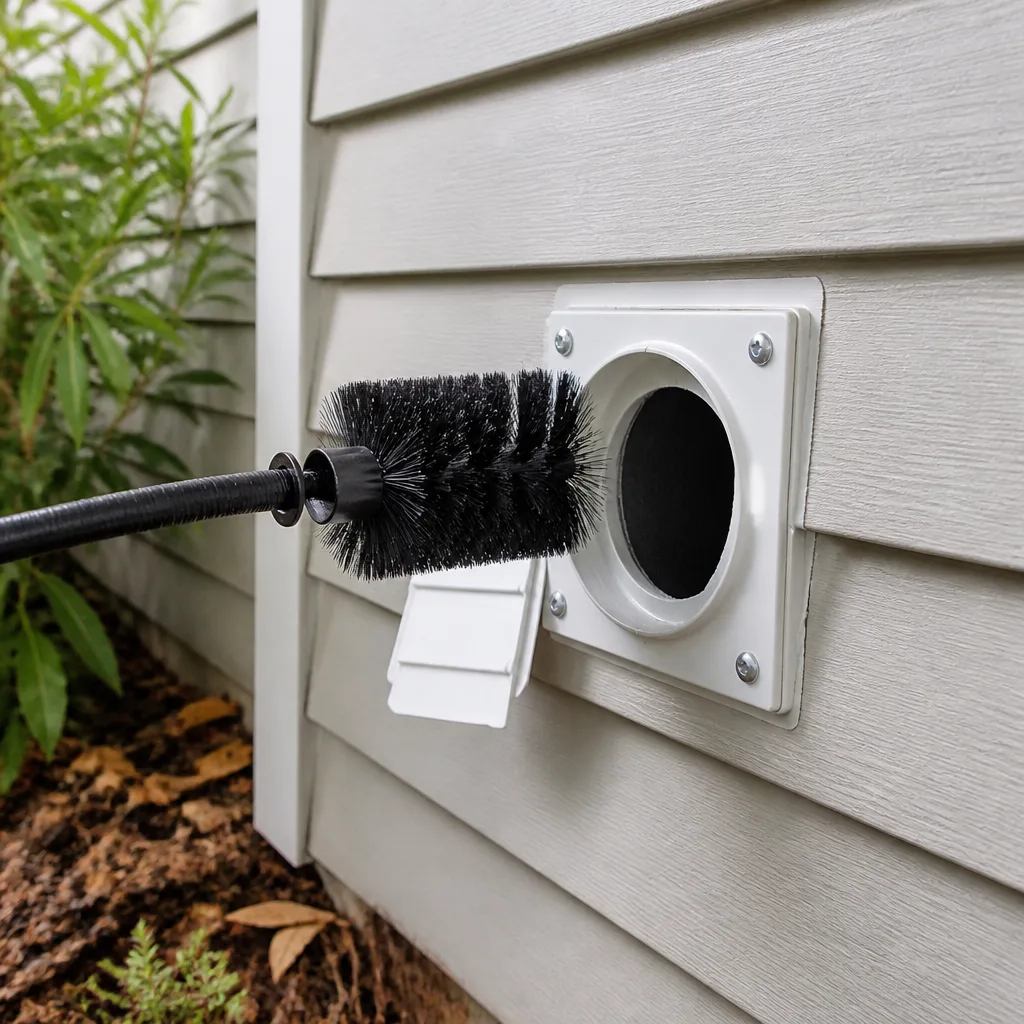 Dryer vent cleaning
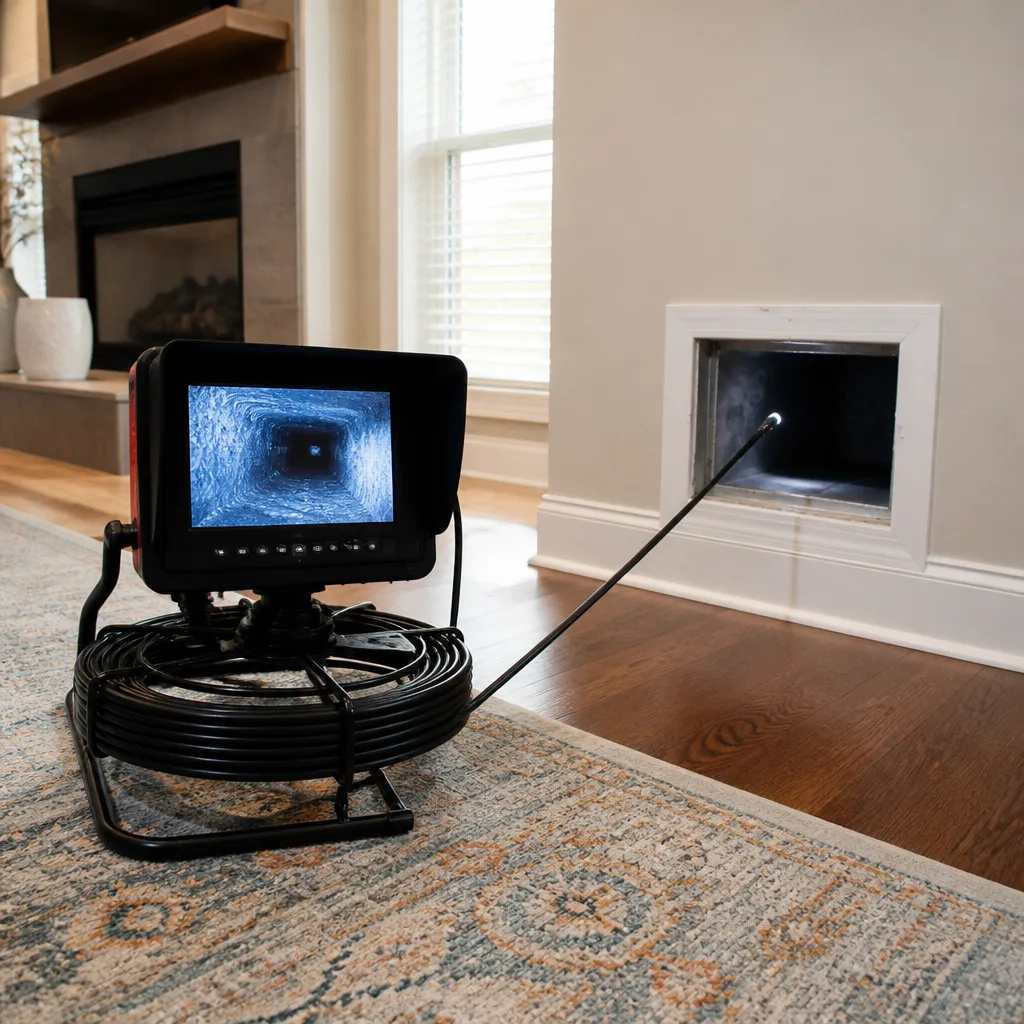 Camera inspection
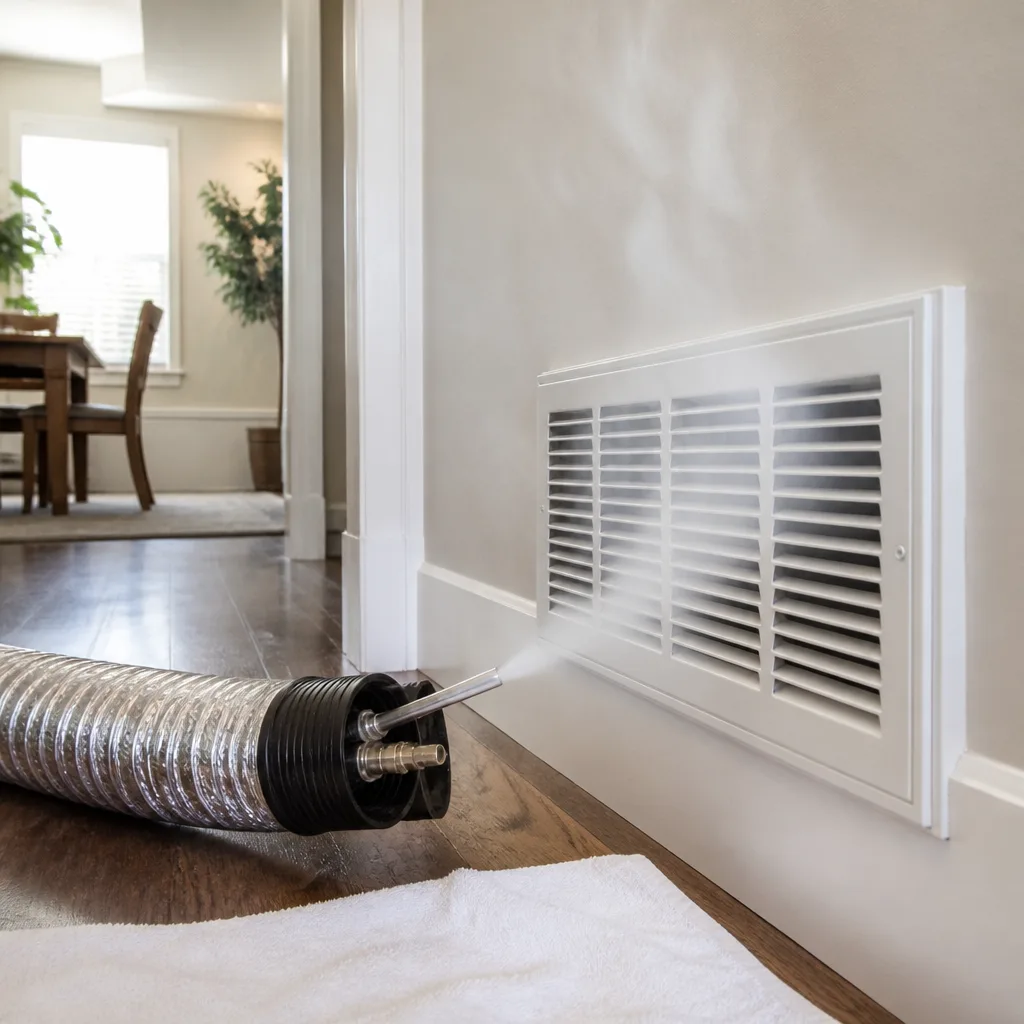 Sanitizing & deodorizing
Whole-system duct and dryer vent check with before-and-after photos - you see exactly what came out of your vents
That "$99 whole-house special" is a bait ad - the real number appears once they are in your hallway, or the "clean" is a shop-vac at the register. We photograph the inside of your ducts before and after instead.
Air Duct Repair Maintenance Schedule: What to Do and When
Most homeowners think about their ducts once: when the cleaning crew comes. That’s the wrong model. Your duct system has three quiet enemies that never announce themselves. Loose boot screws. Flex duct that sags between supports. Return plenum seals that pull apart a little more each heating season. None of them throw an error code. None of them smell. They just open up gaps that let conditioned air leak into your attic or crawlspace, and the loss shows up on your energy bill weeks later.
What follows is a technician-grade calendar for a Sparks home, built around four different inspection types that happen at four different intervals. Monthly. Seasonal. Every three years. And after every repair. Each one targets a different failure mechanism, and skipping any one of them lets damage compound without a warning sign. You’ll learn what to check yourself, what a real professional inspection includes, and how to log it all so the next technician starts where the last one stopped.
Quick Answer
Duct maintenance for most homes breaks into four tiers. Monthly, walk the house and check registers for airflow changes, whistling, or dust streaks around the grilles. Seasonally in Sparks, inspect attic flex duct support and joints before summer heat pushes attic temperatures past 130°F, and check crawlspace duct insulation after winter. Every three years, have a technician run a pressure test, a camera inspection, and a joint integrity check. After any repair, log the work in a file with photos, dates, and the parts and methods used.
Styles & brands we work with
- Whole-home duct cleaning
- Dryer vent cleaning
- Camera inspection
- Sanitizing & deodorizing
Table of Contents
- Monthly Owner Tasks: What to Watch at Your Registers
- Seasonal Tasks Built Around the Sparks Climate
- The Three-Year Professional Inspection: What It Should Include
- Filter Change Intervals and Duct Wear: The Direct Connection
- How to Log Duct Repairs So Future Technicians Don’t Start Over
- Common Air Duct Repairs and How They Fit the Schedule
- When to Move Up the Calendar
- Common Mistakes to Avoid
Monthly Owner Tasks: What to Watch at Your Registers
You don’t need tools for the monthly check. You need attention. Registers are the visible end of a long, sealed tunnel, and small changes at the grille usually mean something is moving behind the drywall.
Here’s what to look and listen for, in order of priority:
- Airflow changes room by room. Hold the back of your hand to each supply register while the system runs. If one room’s flow has clearly weakened compared to the others, a joint or a run has opened up somewhere upstream. Uneven airflow is the most common early signal we find.
- Whistling or a high-pitched hiss at the grille. Whistling means air is forcing its way through a smaller opening than designed. That can be a crushed flex duct, a separated joint, or a register whose damper has shifted.
- Dust streaks or dark smudges around the register frame. A thin black outline around the grille edge means air is escaping around the seal rather than through it. That’s a five-minute fix and a big efficiency win if caught early.
- Rattling or popping when the blower starts or stops. Ductwork moves with pressure changes. Light ticking can be normal. A hard bang or sustained rattle usually means loose hangers or unsupported flex duct flexing against framing.
- Musty smells at one register only. A single musty register suggests moisture or microbial growth in that run. That’s worth flagging immediately.
Write down the date and what you noticed. Ten seconds of note-keeping each month is what turns a vague memory (“the back bedroom felt weak all summer”) into a usable record. For anything that requires crawling into an attic or opening a plenum, stop there and let a professional confirm.
Seasonal Tasks Built Around the Sparks Climate
Sparks runs a dry, high-desert climate with real temperature swings. Summer attic temperatures routinely exceed 130°F. That kind of heat is brutal on flex duct: it softens the outer jacket, degrades the inner liner over time, and can accelerate failure at tape joints and collars. Winter brings the opposite pressure: cold nights, condensate risk in crawlspaces, and vapor barrier issues.
Your seasonal checks should follow that pattern.
Before summer (roughly March through early May)
- Inspect attic flex duct before it gets too hot to work in. Look for sagging between supports. Flex duct should run taut and supported; a sagging run restricts airflow and stresses the joints. Look for detached tape at collars, crimped bends, or duct resting directly on joists or insulation.
- Check for crushed or kinked runs at tight turns. A flex duct bent sharply behind a framing member is functionally a bottleneck. Restricted runs push static pressure back into the system, which stresses every joint downstream.
- Confirm return plenum access panels are sealed. An unsealed or sagging return plenum door pulls attic or garage air into the system. That’s a real air quality problem, not just an efficiency one.
- Photograph everything you can see. Photos from March let a technician in July see exactly what changed. Things you can’t access safely, leave to a pro.
After winter (October through November)
- Walk the crawlspace if you have one. Look for damp vapor barrier, condensation on duct jackets, or insulation that has shifted off a duct run. Wet insulation against a duct run is a slow failure that leads to liner damage.
- Look for rodent or pest intrusion at the duct entry points. Hard winters push pests into warm spaces. Duct connections at the furnace or air handler are common entry points. Don’t reach into ductwork yourself.
- Confirm every register still blows evenly. Your post-winter check is really a re-run of the monthly check with more attention to the rooms that get the least use.
If your ducts have not been cleaned in a while, or your springs and falls are the only time you look at them, this is a good moment to schedule air duct cleaning so a technician can look at the system from the inside during the seasonal window.
The Three-Year Professional Inspection: What It Should Include
A professional duct inspection is not a walkthrough with a flashlight. Done correctly, it’s a structured test of the whole system with actual measurements. Here’s what a proper three-year inspection should cover, and how to tell the difference between a real one and a courtesy glance.
What a real inspection includes
- Static pressure measurement at the air handler. A technician should measure the pressure on both the supply and return sides. High static pressure tells you where the system is being forced to push against a restriction. This is a number, not an opinion.
- Leakage assessment. Either a duct blaster-style pressure test or a careful visual and smoke check of every accessible joint. Not every home needs a full duct blaster test on every visit, but leaks at accessible joints should always be visually checked and documented.
- Interior camera inspection. A camera run through the supply and return trunks shows liner condition, debris buildup, moisture, and joint separation that you can’t see from outside. This is where actual problems are confirmed or ruled out.
- Joint integrity check at every accessible collar, boot, and plenum connection. Boots at floor registers, takeoffs at trunk lines, and plenum connections are the highest-failure-rate points. Each should be checked for secure attachment and proper sealing.
- Return plenum and filter housing inspection. The path from the return grilles to the air handler is often the most neglected section of the system and the one most likely to leak.
- System condition report, in writing. You should receive a written summary of what was found, what was measured, and what – if anything – needs repair.
What a cursory inspection looks like
A courteous glance at the registers, a comment about how the system looks “pretty clean,” and a recommendation to schedule a cleaning. No measurements. No camera. No written report. If the visit doesn’t produce numbers and documentation, it doesn’t reset your three-year clock.
Our technicians have up to experience running this kind of structured inspection. We use Rotobrush rotary brush systems and Nikro HEPA-rated vacuum equipment, plus Abatement Technologies filtration tools for containment-level work – the same standard used in professional remediation. When an inspection finds a joint failing or a section of flex duct tearing, we can fix it on the same visit through our Duct Cleaning Sparks air duct repair service rather than handing you a referral.
Filter Change Intervals and Duct Wear: The Direct Connection
Filters and ducts are the same conversation, even though they feel like two separate chores. Here’s the mechanism: a clogged filter restricts airflow into the blower. Restricted intake raises static pressure throughout the entire duct system. And elevated static pressure is exactly what physically stresses duct joints – it finds the weakest taped collar, the loosest boot screw, the sagging flex run, and pushes air through every gap that isn’t fully sealed.
In plain terms: a dirty filter accelerates duct wear. It’s not a theoretical link. It’s one of the clearest cause-and-effect relationships in the whole system, and it’s the one homeowners most consistently overlook.
How often to change the filter
- Standard 1-inch fiberglass or pleated filters: check monthly, replace every 60 to 90 days for most Sparks homes. During heavy-use summer months with the windows open occasionally, check every 30 days.
- Higher-MERV pleated filters (MERV 8 to 13): these load faster because they trap more. A “better” filter doesn’t last longer; it usually needs more frequent attention. Check monthly.
- Media cabinets and high-efficiency systems: these often last 6 to 12 months, but should still be checked seasonally. We work with Honeywell and Aprilaire indoor air quality systems and can confirm what your filter housing was designed for.
- Filter thickness matters: a 4-inch or 5-inch media filter holds far more dirt than a 1-inch filter before it restricts airflow. If you’re running a 1-inch filter in a housing designed for a thicker filter, you’re changing it far more often than necessary and loading the system harder.
Here’s the practical upshot: if you’re noticing duct problems after a heavy summer of running the system with a clogged filter, the filter is a plausible contributor. Change it on time and you lighten the load on every joint in the system.
How to Log Duct Repairs So Future Technicians Don’t Start Over
Every technician who walks into your home starts from zero unless you give them a file. A good log turns a re-diagnosis into a five-minute review. That matters for your wallet, and it matters enormously if you sell the house or pass a rental inspection, because documented duct work is a selling point.
Here’s the specific documentation to keep. Create a folder – paper or digital, either works.
- Date and technician/company of every visit. Every inspection, cleaning, and repair. Nothing is too small to note.
- What was found. “Joint separation at the supply trunk above the hallway takeoff.” “Flex duct crushed at the 90-degree turn above the laundry.” Be specific about location in the house, not just “attic.”
- What was repaired and how. Not just “sealed the joint.” Note the method – mastic, foil tape, mechanical fastener plus mastic, flex duct replacement. Different methods have different lifespans.
- Which equipment was used. If your technician used a Rotobrush rotary brush system and Nikro HEPA vacuum, note it. If a future technician knows the interior was cleaned with mechanical agitation and HEPA containment, they know how much debris is likely in the system and how to inspect it.
- Photos – before and after. Ask for them. Any company doing professional work should have photos of what they found and what they fixed. A duct repair without a photo is a repair you can’t verify later.
- Measurements, if taken. Static pressure readings, leakage numbers, airflow measurements. If the technician took numbers, keep them. Future readings compared against old readings tell you whether the system is stable or degrading.
- Filter change dates and filter type. Include the size and MERV rating. This is the single most useful piece of context a future technician can have about how the system has been loaded.
Keep the file where the next homeowner or technician can find it. When we repair ductwork, we leave documentation of what we found and what we fixed. That’s the standard: air quality you can verify, not just work you’re told happened.
Common Air Duct Repairs and How They Fit the Schedule
Not every duct problem is a cleaning problem. Some are repair jobs, and it’s worth knowing which patterns the schedule is meant to catch. Here are the ones we encounter most often, and where each one typically shows up in the inspection cycle.
- Joint separation at boots and collars. The most common failure. Caught in the monthly check when a room’s airflow drops. Fixed with mastic and mechanical fastening, and it’s a repair, not a replacement.
- Crushed or sagging flex duct. Usually found during the pre-summer attic check. A sagging run restricts airflow and stresses the joints on both ends. Sometimes support adjustment fixes it; sometimes the run needs to be replaced.
- Torn or degraded inner liner. Found on camera inspection. The inner liner of flex duct can shred over time from heat, debris, or pest activity. A damaged liner sheds particles into the airstream and is a real air quality issue.
- Leaking return plenum. Found on any inspection that includes the return side. A leaking return plenum pulls attic or garage air into the supply, which is a serious air quality problem. Repair usually means re-sealing the plenum access panel or rebuilding the connection.
- Disconnected duct runs. Found when airflow to one or more rooms is gone or sharply reduced. This is the failure the schedule is designed to catch before it becomes a full replacement job.
If any of these show up, scheduling repair before the next seasonal transition keeps the problem from compounding. We handle repair as a standalone service, so a duct problem found in cleaning gets fixed on the same visit rather than referred out. A full inspection by a Sparks team should identify which of these categories, if any, applies to your system.
One related system worth adding to the calendar: your dryer vent. It’s a different system, but the maintenance logic is the same – a check every season, a cleaning at the recommended interval, and a documented record. If you haven’t had it done in a while, dryer vent cleaning is a low-effort, high-value addition to your annual or three-year cycle.
When to Move Up the Calendar
The calendar is a floor, not a ceiling. Some conditions justify an inspection sooner than the three-year interval, and some justify it right away.
- After any roof work, fresh insulation install, or significant renovation. Ducts are frequently disturbed in the process. New insulation can crush flex runs. Roof work can dislodge attic ducts.
- After pest activity. Rodents or insects in ductwork leave debris and can tear liners. Don’t reach into ductwork to check yourself – have a professional inspect it.
- After a power outage or an HVAC blower fault that ran the system hot. Duct jackets and tape joints can cook in those conditions.
- If you’re buying or selling. A documented duct inspection is worth having in hand before an inspection finds something. Disclosure documents benefit from a current written report.
- If a household member has developed new allergy or respiratory symptoms that get worse indoors. Duct condition is one of several possible contributors. A camera inspection can rule duct debris and liner damage in or out, quickly.
- If you’re a property manager preparing for a rental inspection. Documented, dated reports are what inspectors and tenants want to see.
Common Mistakes to Avoid
- Treating duct maintenance as a once-a-year event. The four-tier calendar exists because each failure mechanism runs on a different clock. An annual cleaning checks one box and leaves three failure paths unwatched.
- Skipping the pre-summer attic check because it’s “probably fine.” By July in Sparks, attic temperatures routinely exceed 130°F, and it’s too hot to inspect safely. The March-to-May window is the only practical one. Miss it and you’re waiting a year.
- Changing the filter “when you remember.” A clogged filter raises static pressure and stresses every duct joint. That’s a maintenance failure that runs on the homeowner’s memory instead of a schedule.
- Assuming a walkthrough is an inspection. If a technician doesn’t measure static pressure, run a camera, or check joint integrity, you haven’t had an inspection. You’ve had a visit.
- Not keeping records. Without a log and photos, every future technician re-diagnoses from scratch, and a repair you paid for is a repair you can’t prove when you sell or rent.
- Letting airflow problems slide because they’re “not that bad.” Weak airflow at a register is the first signal. Left alone, it becomes a crushed flex run or a disconnected supply that affects the room and the whole system’s efficiency.
- Reaching into or opening ductwork yourself to check for debris or pests. Duct interiors can harbor sharp edges, torn liner, and contaminant that deserves proper containment – the kind of work professional HEPA-rated equipment exists for. Only a trained technician should be inside the system.
See the difference
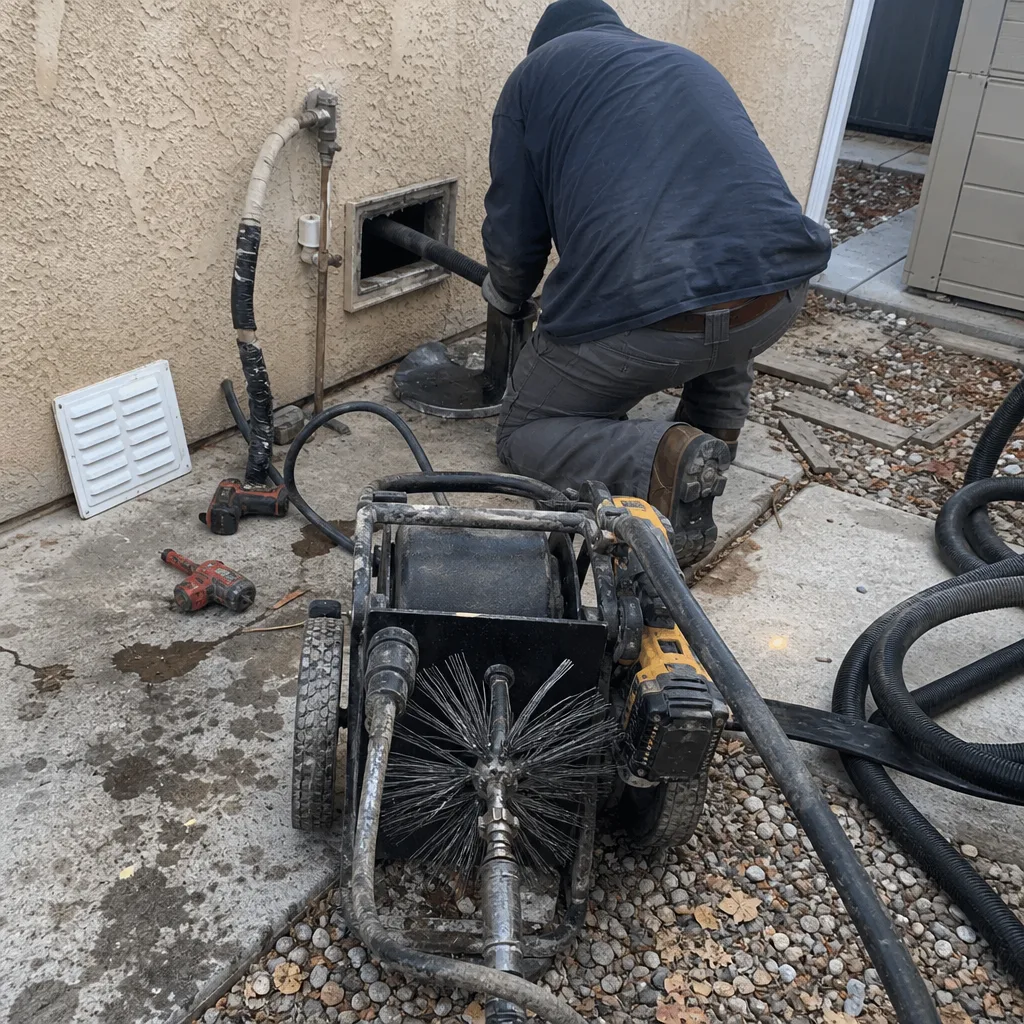 Before
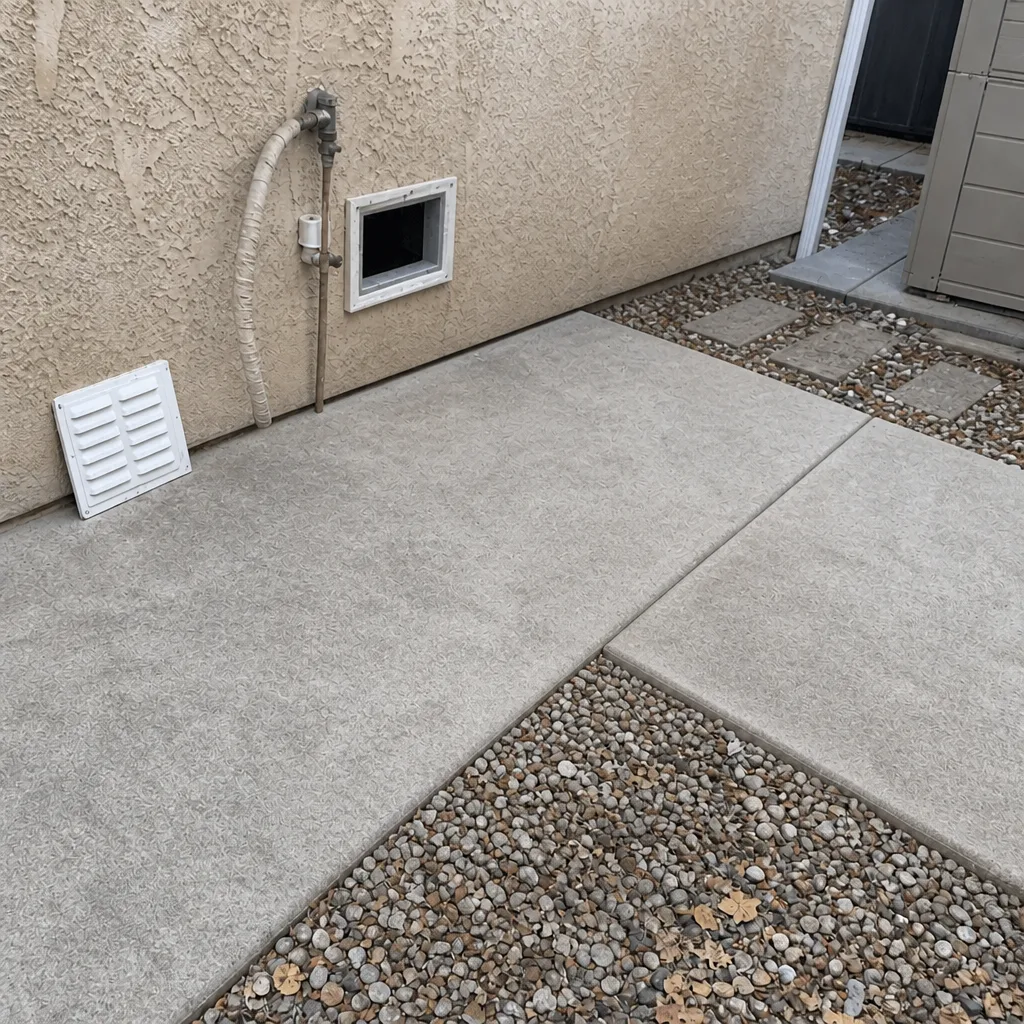 After
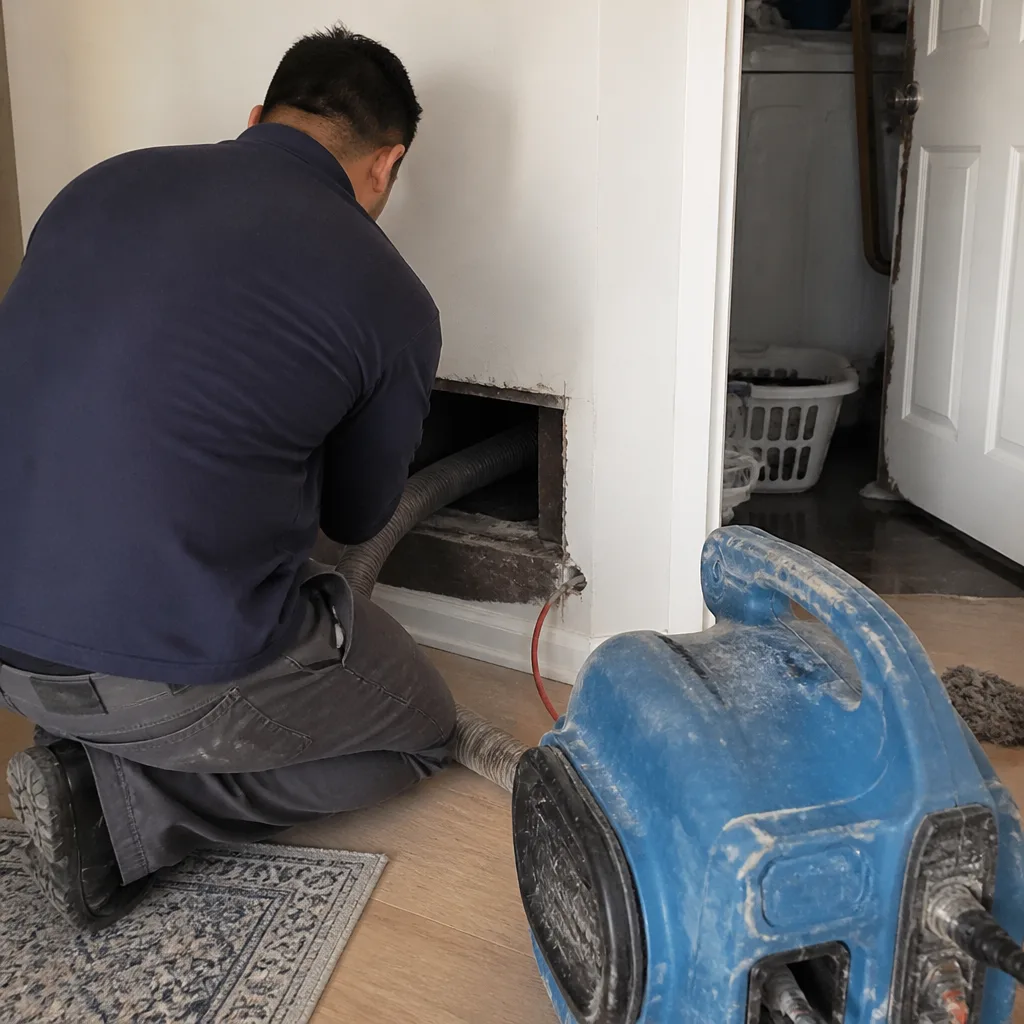 Before
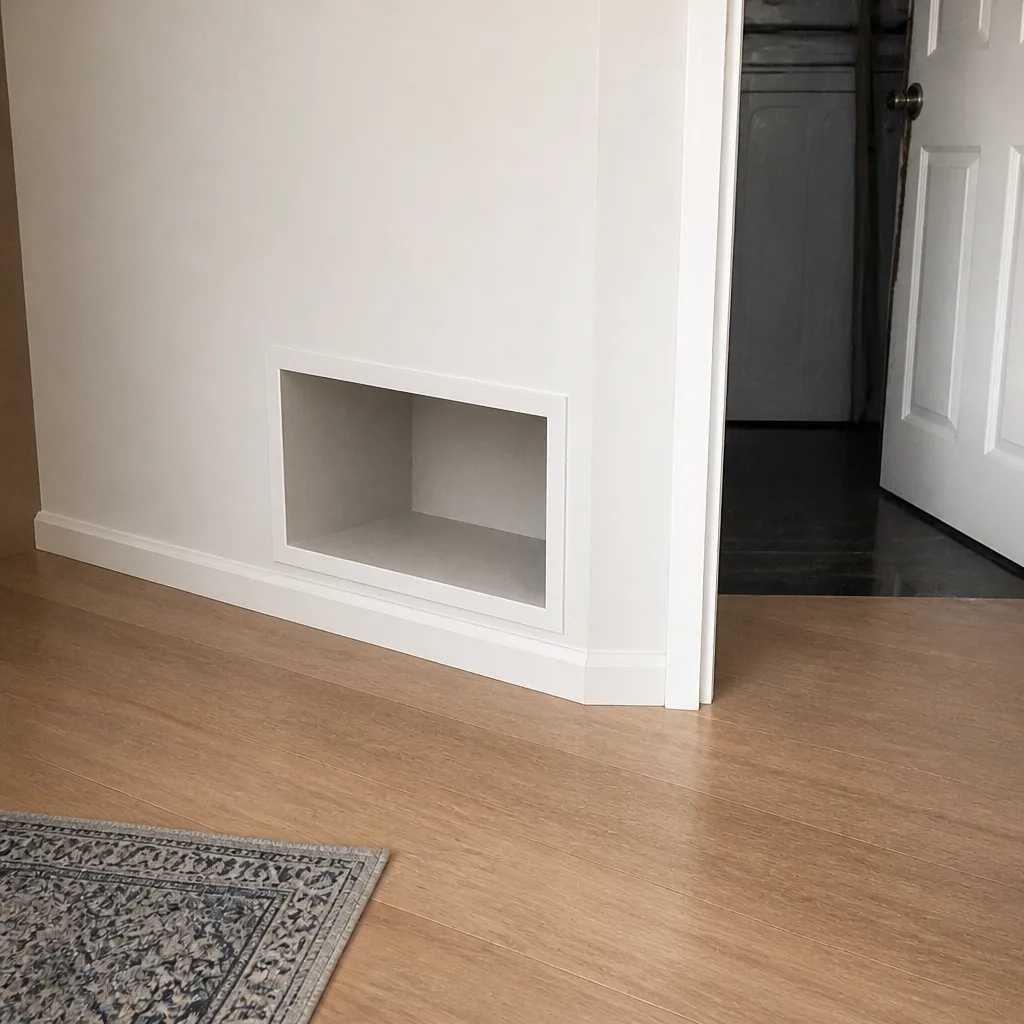 After
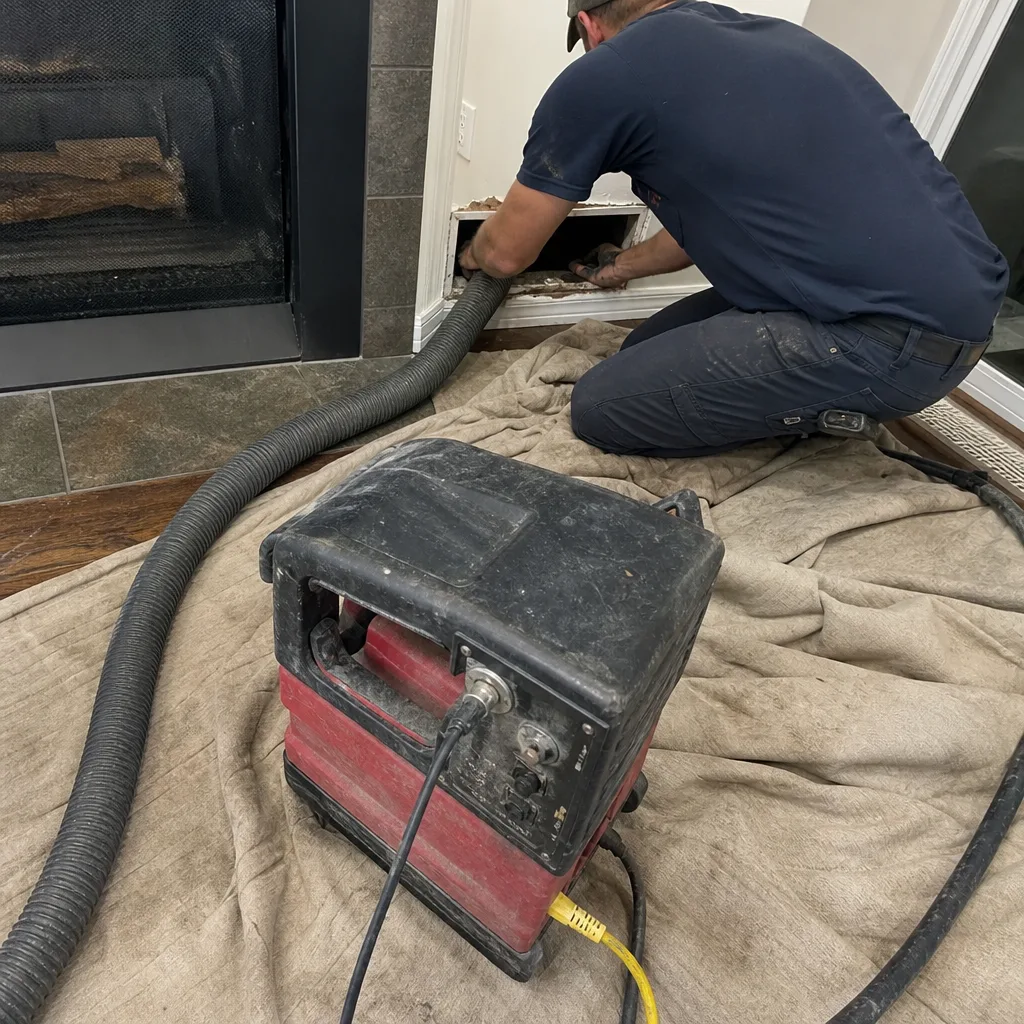 Before
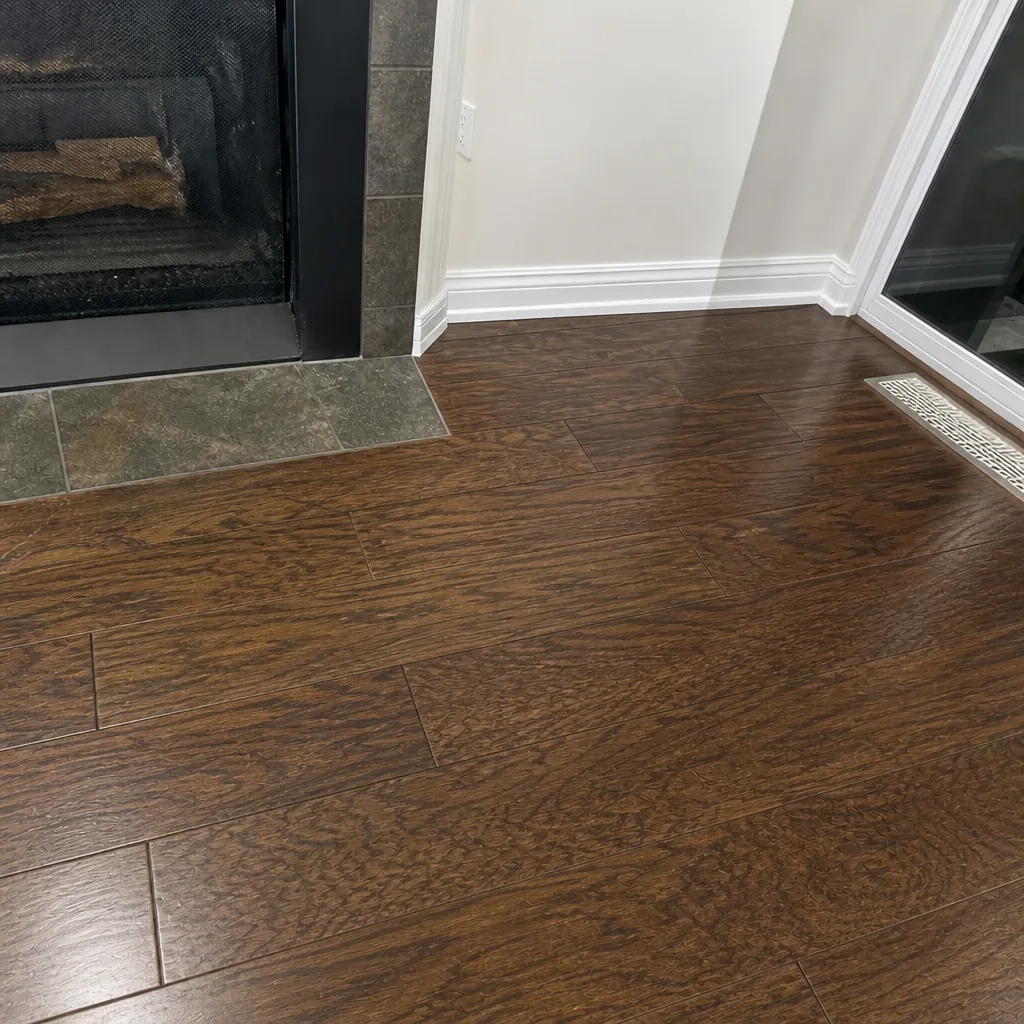 After
When to Call a Professional
Call for a professional inspection when any of the monthly or seasonal signals don’t resolve. A room whose airflow dropped and stayed down. Whistling at a register. A musty smell at one grille. Visible separation at a boot, a collar, or a plenum connection. Any of these mean the calendar moves up.
Call immediately if you suspect a pest has entered ductwork, if attic or crawlspace insulation has shifted off a duct run, or if you’re about to have a home inspection and want a written report in hand. Do not open ductwork yourself to investigate – torn liner, sharp edges, and contamination in a duct interior are not a DIY job. The system needs containment-grade equipment and camera inspection to confirm what’s happening inside.
Duct Cleaning Sparks offers free estimates in Sparks – call (888) 561-9258. We’re honest about what we find. If the ducts don’t need work, we tell you that. If they do, the estimate is written and the price is set per job before any work starts. We answer 24/7. Fast dispatch from 7am to 7pm, Sunday through Friday.
Frequently Asked Questions
Every three years is the baseline for a full professional inspection, with monthly checks by the homeowner and seasonal checks tied to summer attic heat and post-winter crawlspace conditions. Homes with pets, recent renovations, or a history of pest activity should be inspected more often, typically annually.
A proper inspection includes static pressure measurement at the air handler, a camera inspection of the duct interior, a joint integrity check at every accessible collar, boot, and plenum connection, and a written report of what was found. A walkthrough with a flashlight is not an inspection. If the technician takes no measurements and produces no report, the three-year clock hasn’t reset.
Attic temperatures in Sparks routinely exceed 130°F during summer, which makes a safe inspection impossible during that window. The pre-summer check catches sagging flex duct, detached tape joints, and crushed runs before the heat degrades them further. Miss the March-to-May window and the next practical opportunity is the following year.
Yes. A clogged filter restricts airflow into the blower and raises static pressure throughout the system. That higher pressure finds the weakest tape joints and the loosest boot connections and pushes air through them. Over time, that’s exactly what opens up a joint that was previously sealed. Change the filter on schedule and you lighten the load on every joint.
Dates of every visit, what was found and where, what was repaired and by what method, which equipment was used, before-and-after photos, any static pressure or airflow measurements taken, and filter change dates with filter size and MERV rating. Keep it where a future technician or a future homeowner can find it.
Weak airflow in one room often points to a duct problem – a joint that opened, a crushed flex run, or a disconnected supply – rather than a general cleaning need. A camera inspection and joint integrity check will confirm which it is. Repair is often a separate, contained job. Call (888) 561-9258 for an exact quote – estimates are free.
The Bottom Line
Duct maintenance is a calendar, not an event. Monthly register checks catch early signals. Seasonal checks tied to the Sparks climate – pre-summer attic, post-winter crawlspace – catch the failures that heat and cold create on their own timetable. A three-year professional inspection with actual measurements and a camera reset the clock and prove the system is stable. And a written log keeps every technician from starting over. Skipping any one tier lets damage compound invisibly, and the compounding is what eventually turns an inexpensive joint repair into a full replacement job. Follow the schedule and your ducts stay in the low-cost lane.
If it’s been more than three years since your last real inspection, or you’ve noticed any of the signals above, call (888) 561-9258 for a free estimate. We answer 24/7. Fast dispatch from 7am to 7pm, Sunday through Friday.
Written by the team at Duct Cleaning Sparks.